
These are one of those projects you don’t want to put off or neglect. Annual maintenance is recommended for these tankless system. It’s that time of the year to flush/descale your system. In this post we’ll be specifically talking about the Tankless Water Heaters systems.
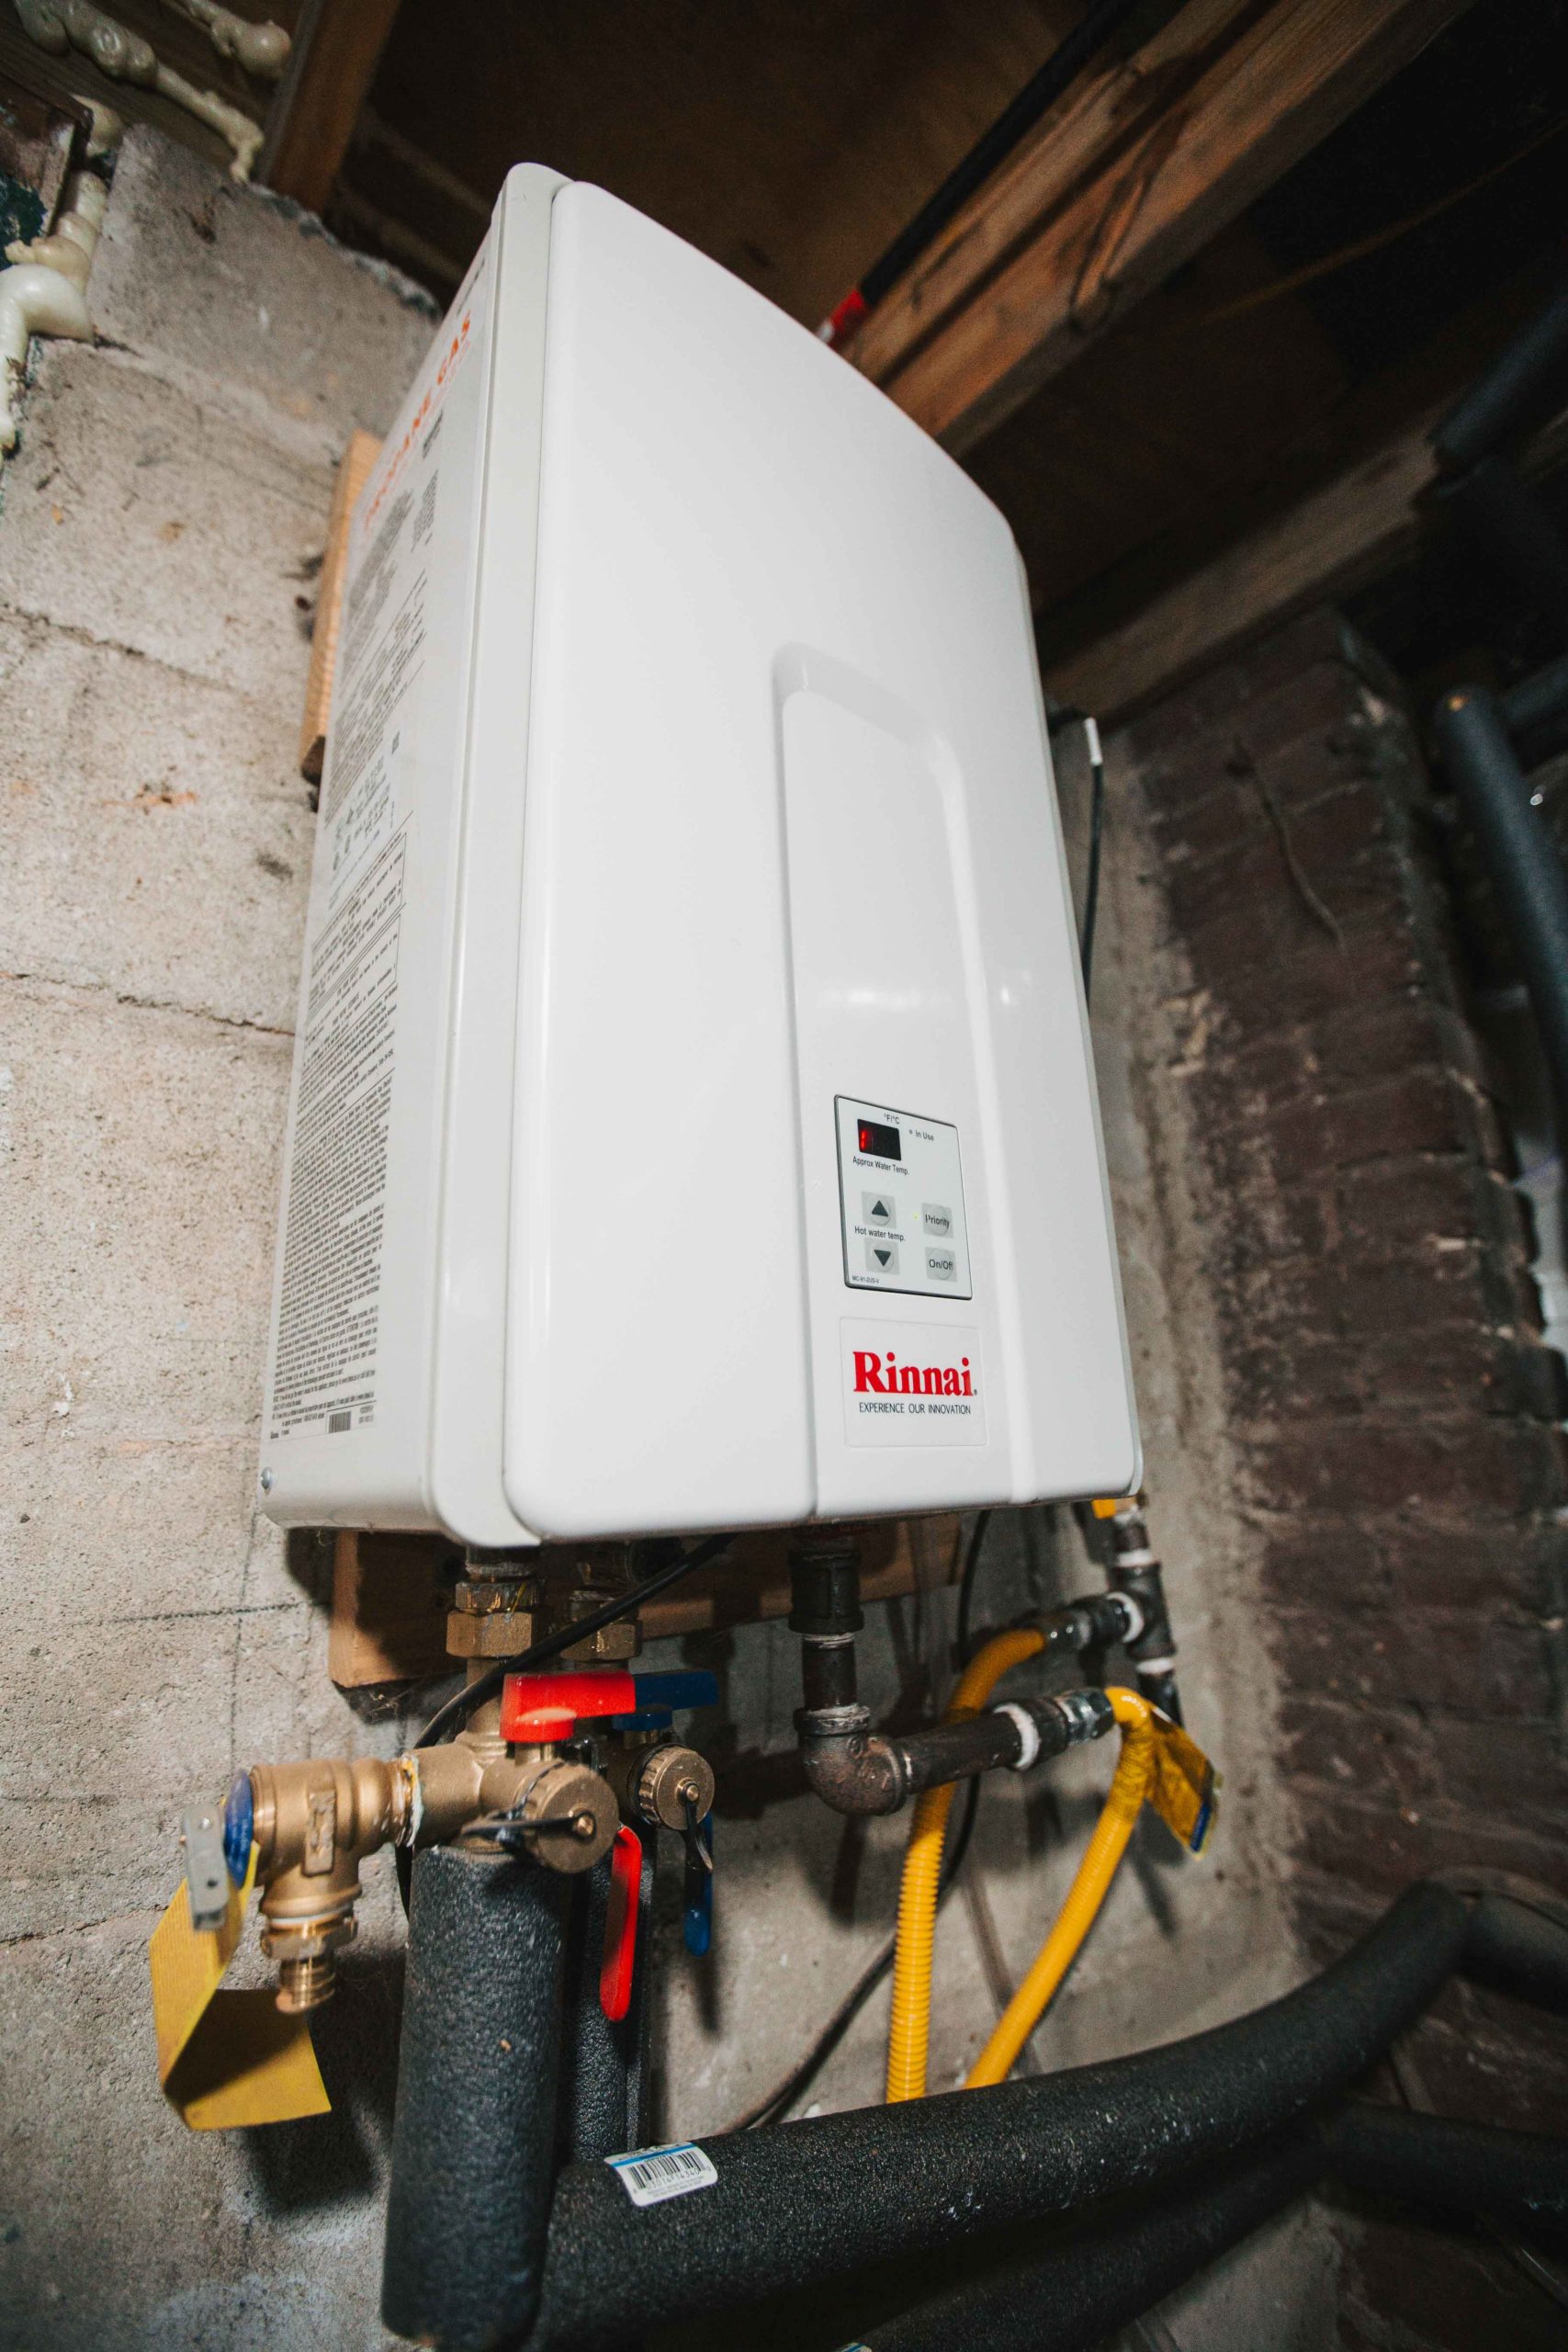
It’s been over a year for our system so I was getting a bit worried that there was much build up going on and our system was about to fail any moment. (No that wasn’t the case, it wasn’t bad at all) Funny how I thought worst case scenario, but it’s important to have that mindset especially after you’ve spend thousands in appliances and you want to make sure you get the life out of it.
This tankless system specifically was around $600. Most larger homes will have systems double that price or triple. Our home is a 2.5 bathroom home so the system supports this home well. The point is, it’s important to take care of your system. Luckily this is one of those 2 hour or less projects that you can do yourself. Like really, it’s not hard one bit, you just need a few tools that might even be laying around the house. Now, if you want to hire someone to do it. That’s totally fine, you might be paying someone up to $200 or more to come out and do it. But if you want to save some money and spend about $65 then definitely do it yourself. So let’s get into it!
So if you have a hard time reading and following steps like I do sometimes, then check out this video also located at the bottom of this post.
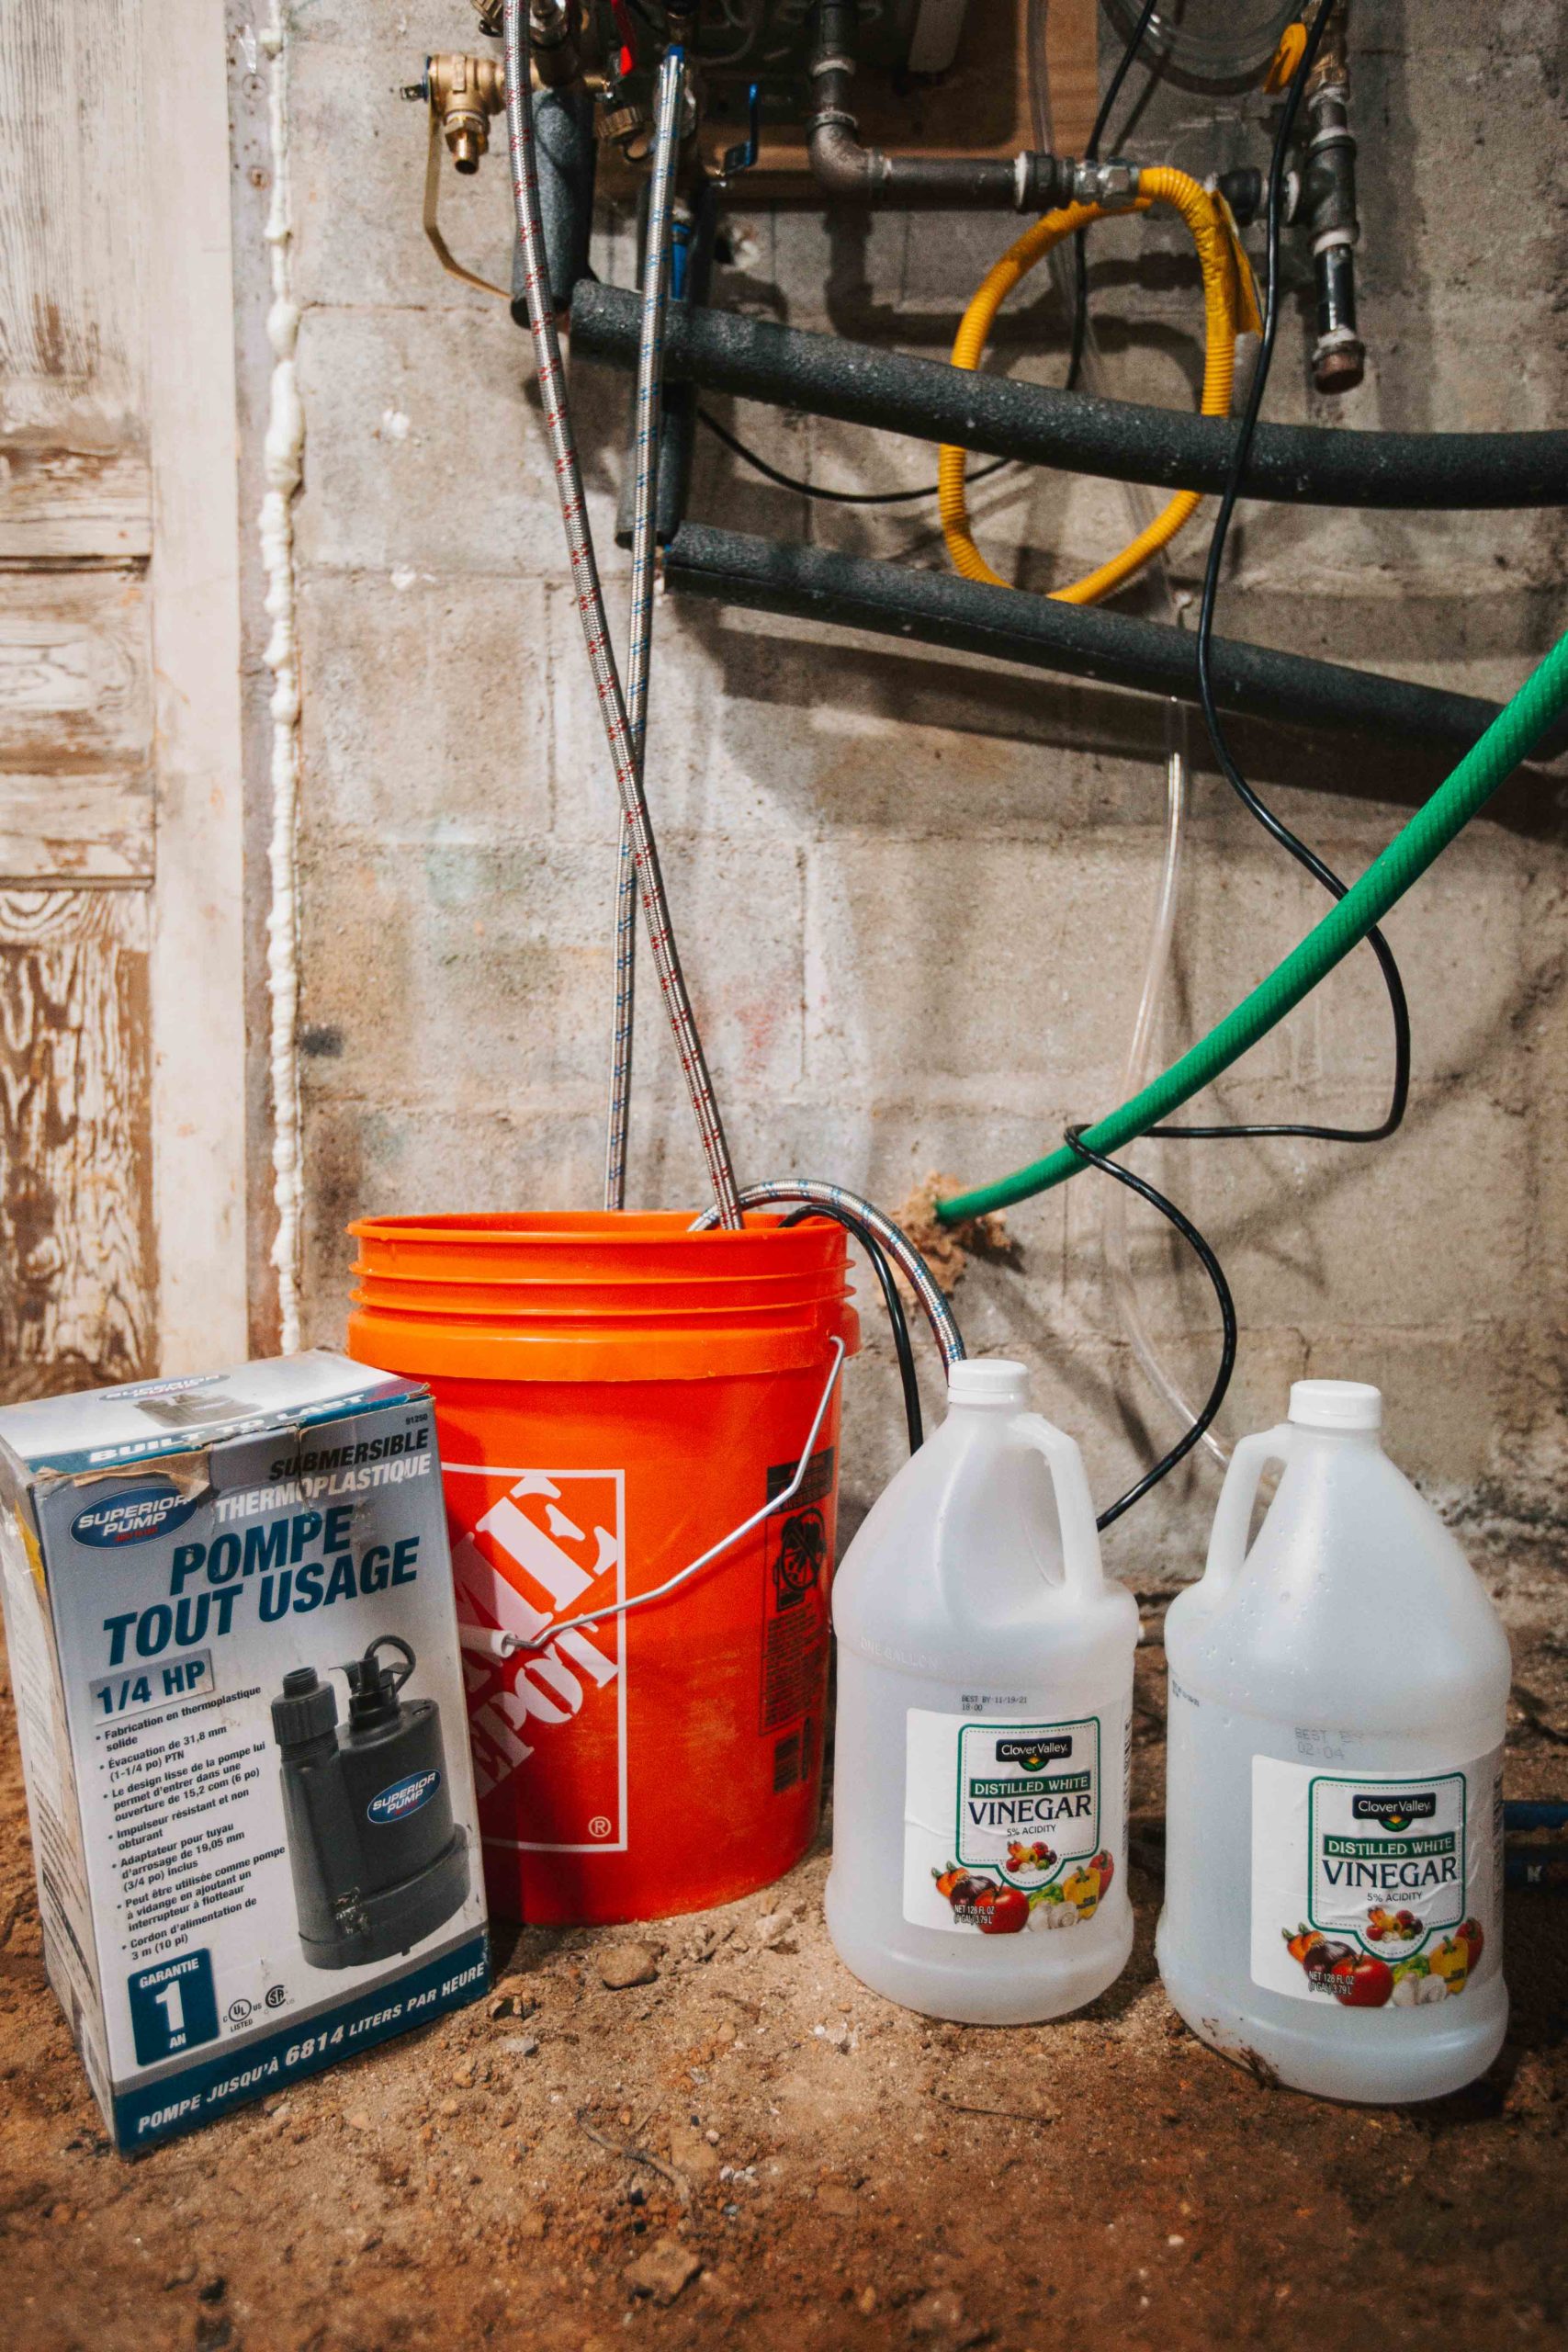
You’ll need a few tools.
- A Pump ($40)
- Basic Hose ($20)
- White Vinegar (2G) ($5)
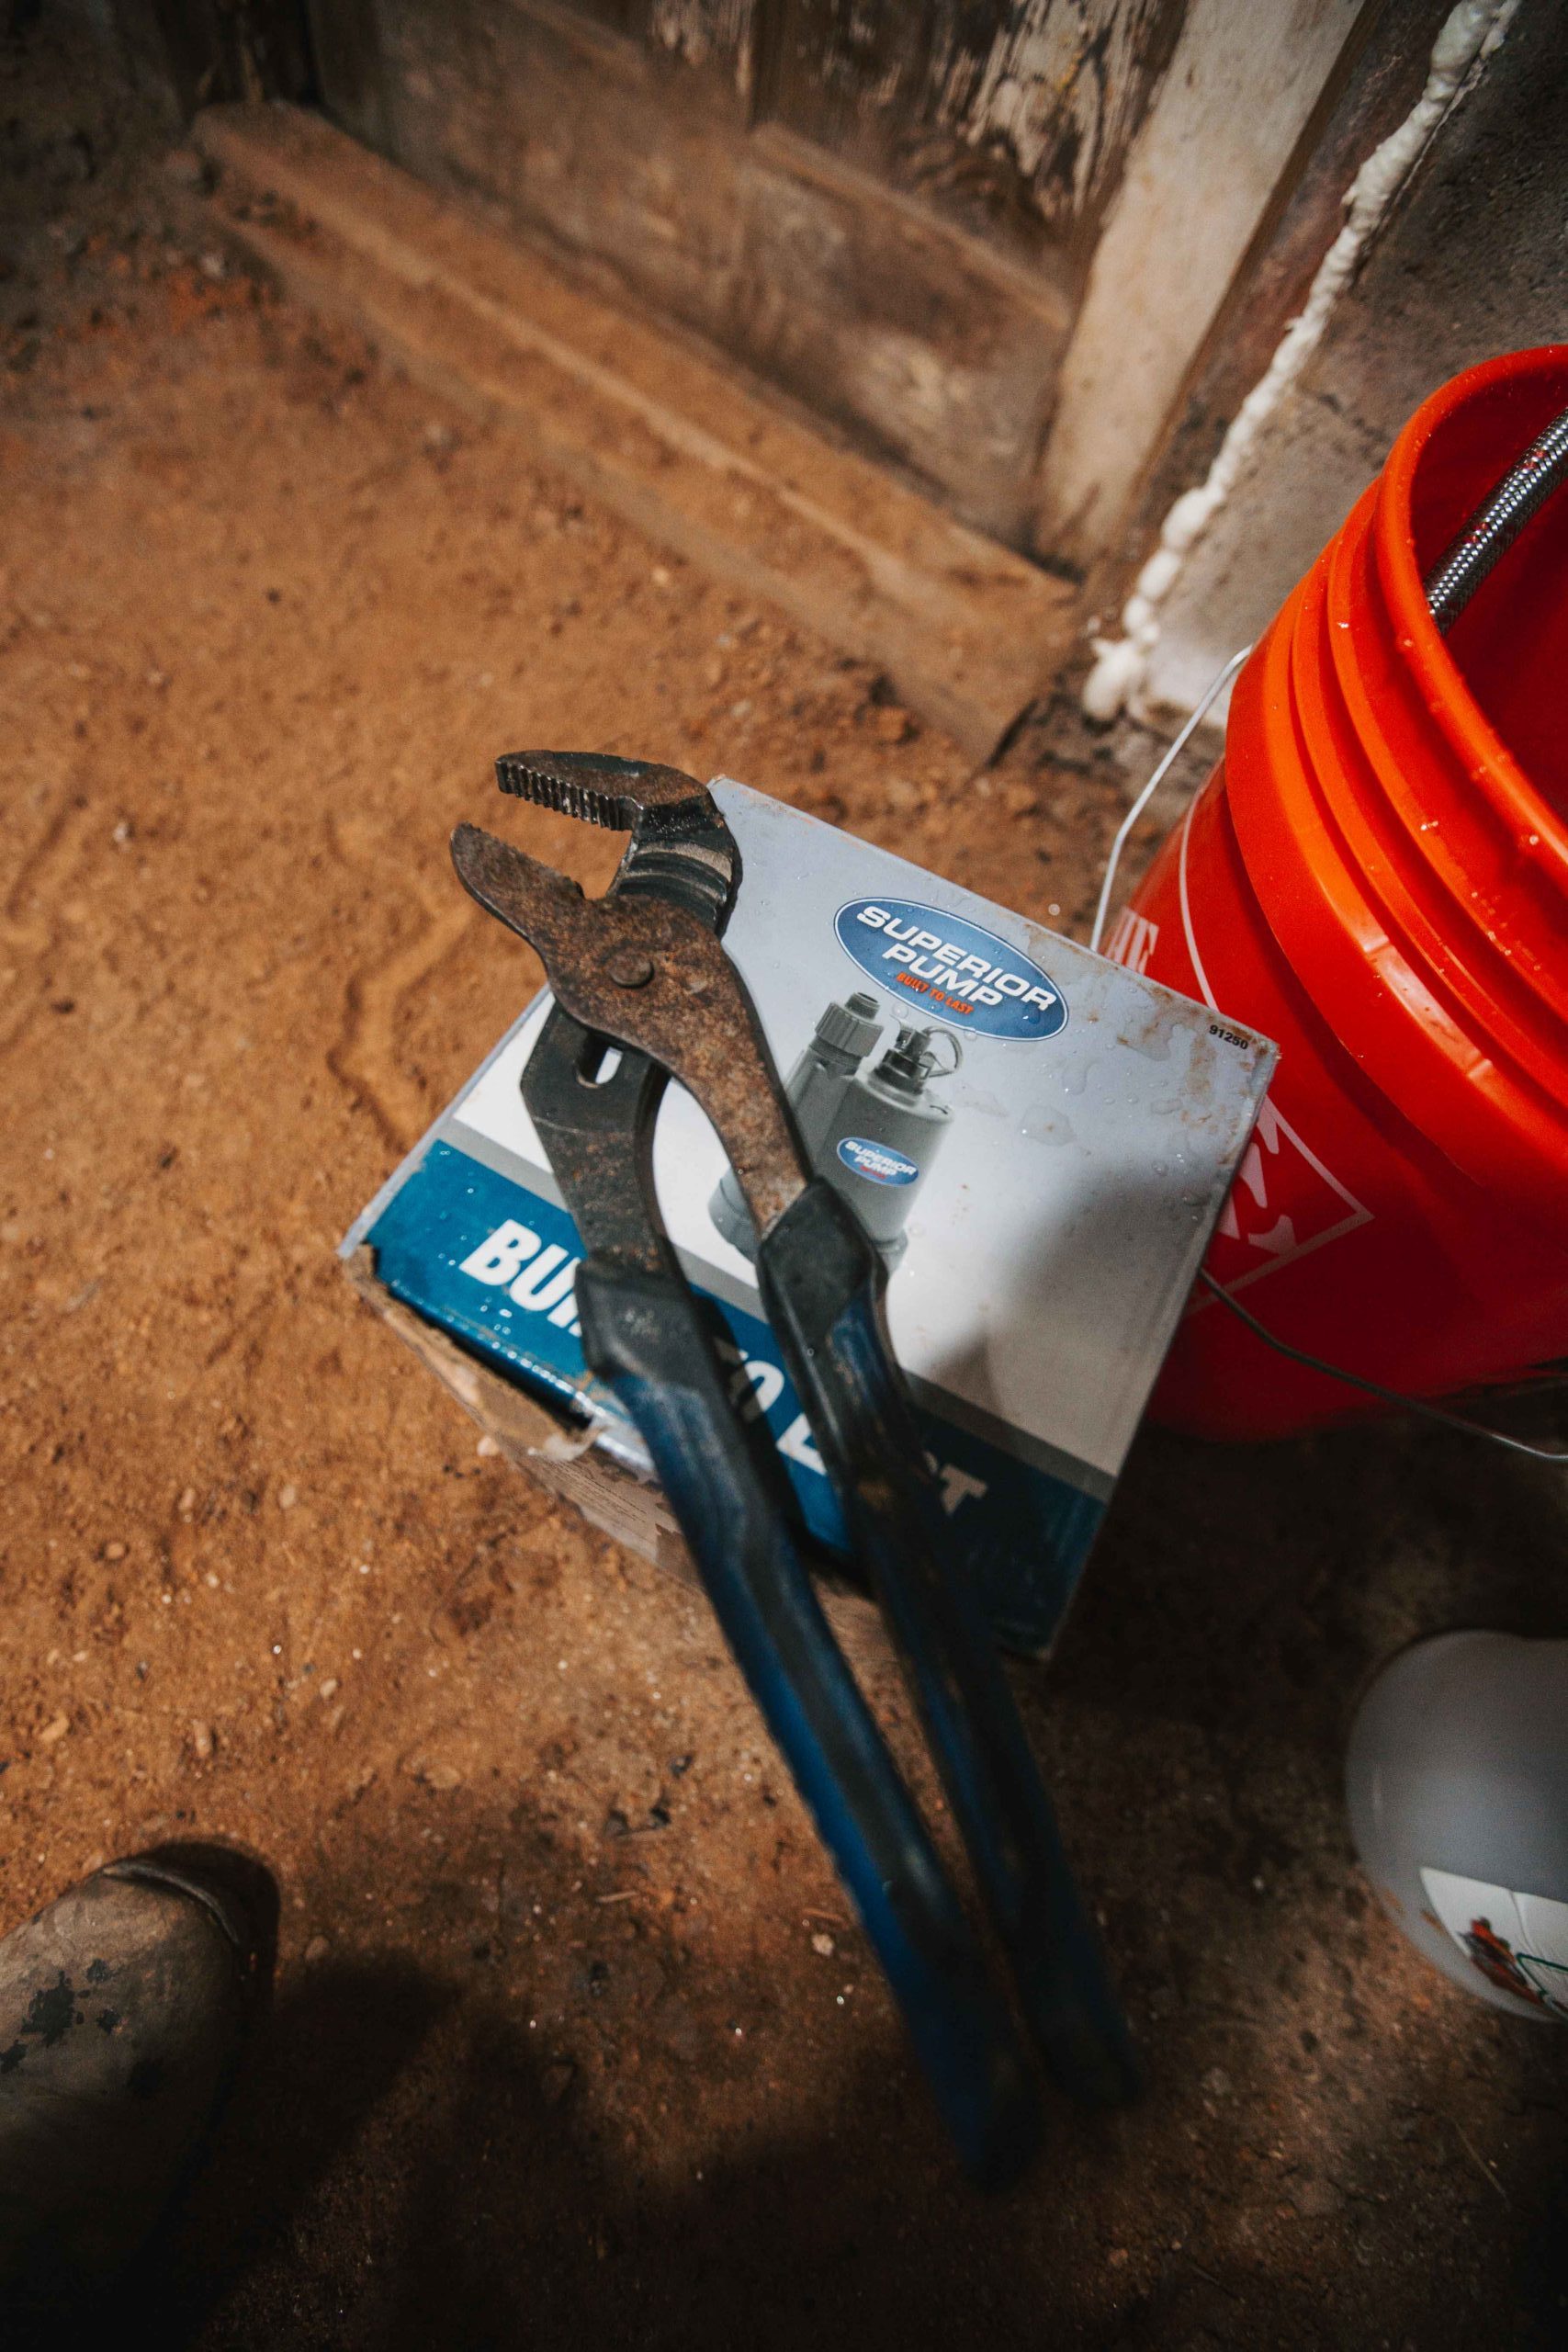
- Pliers
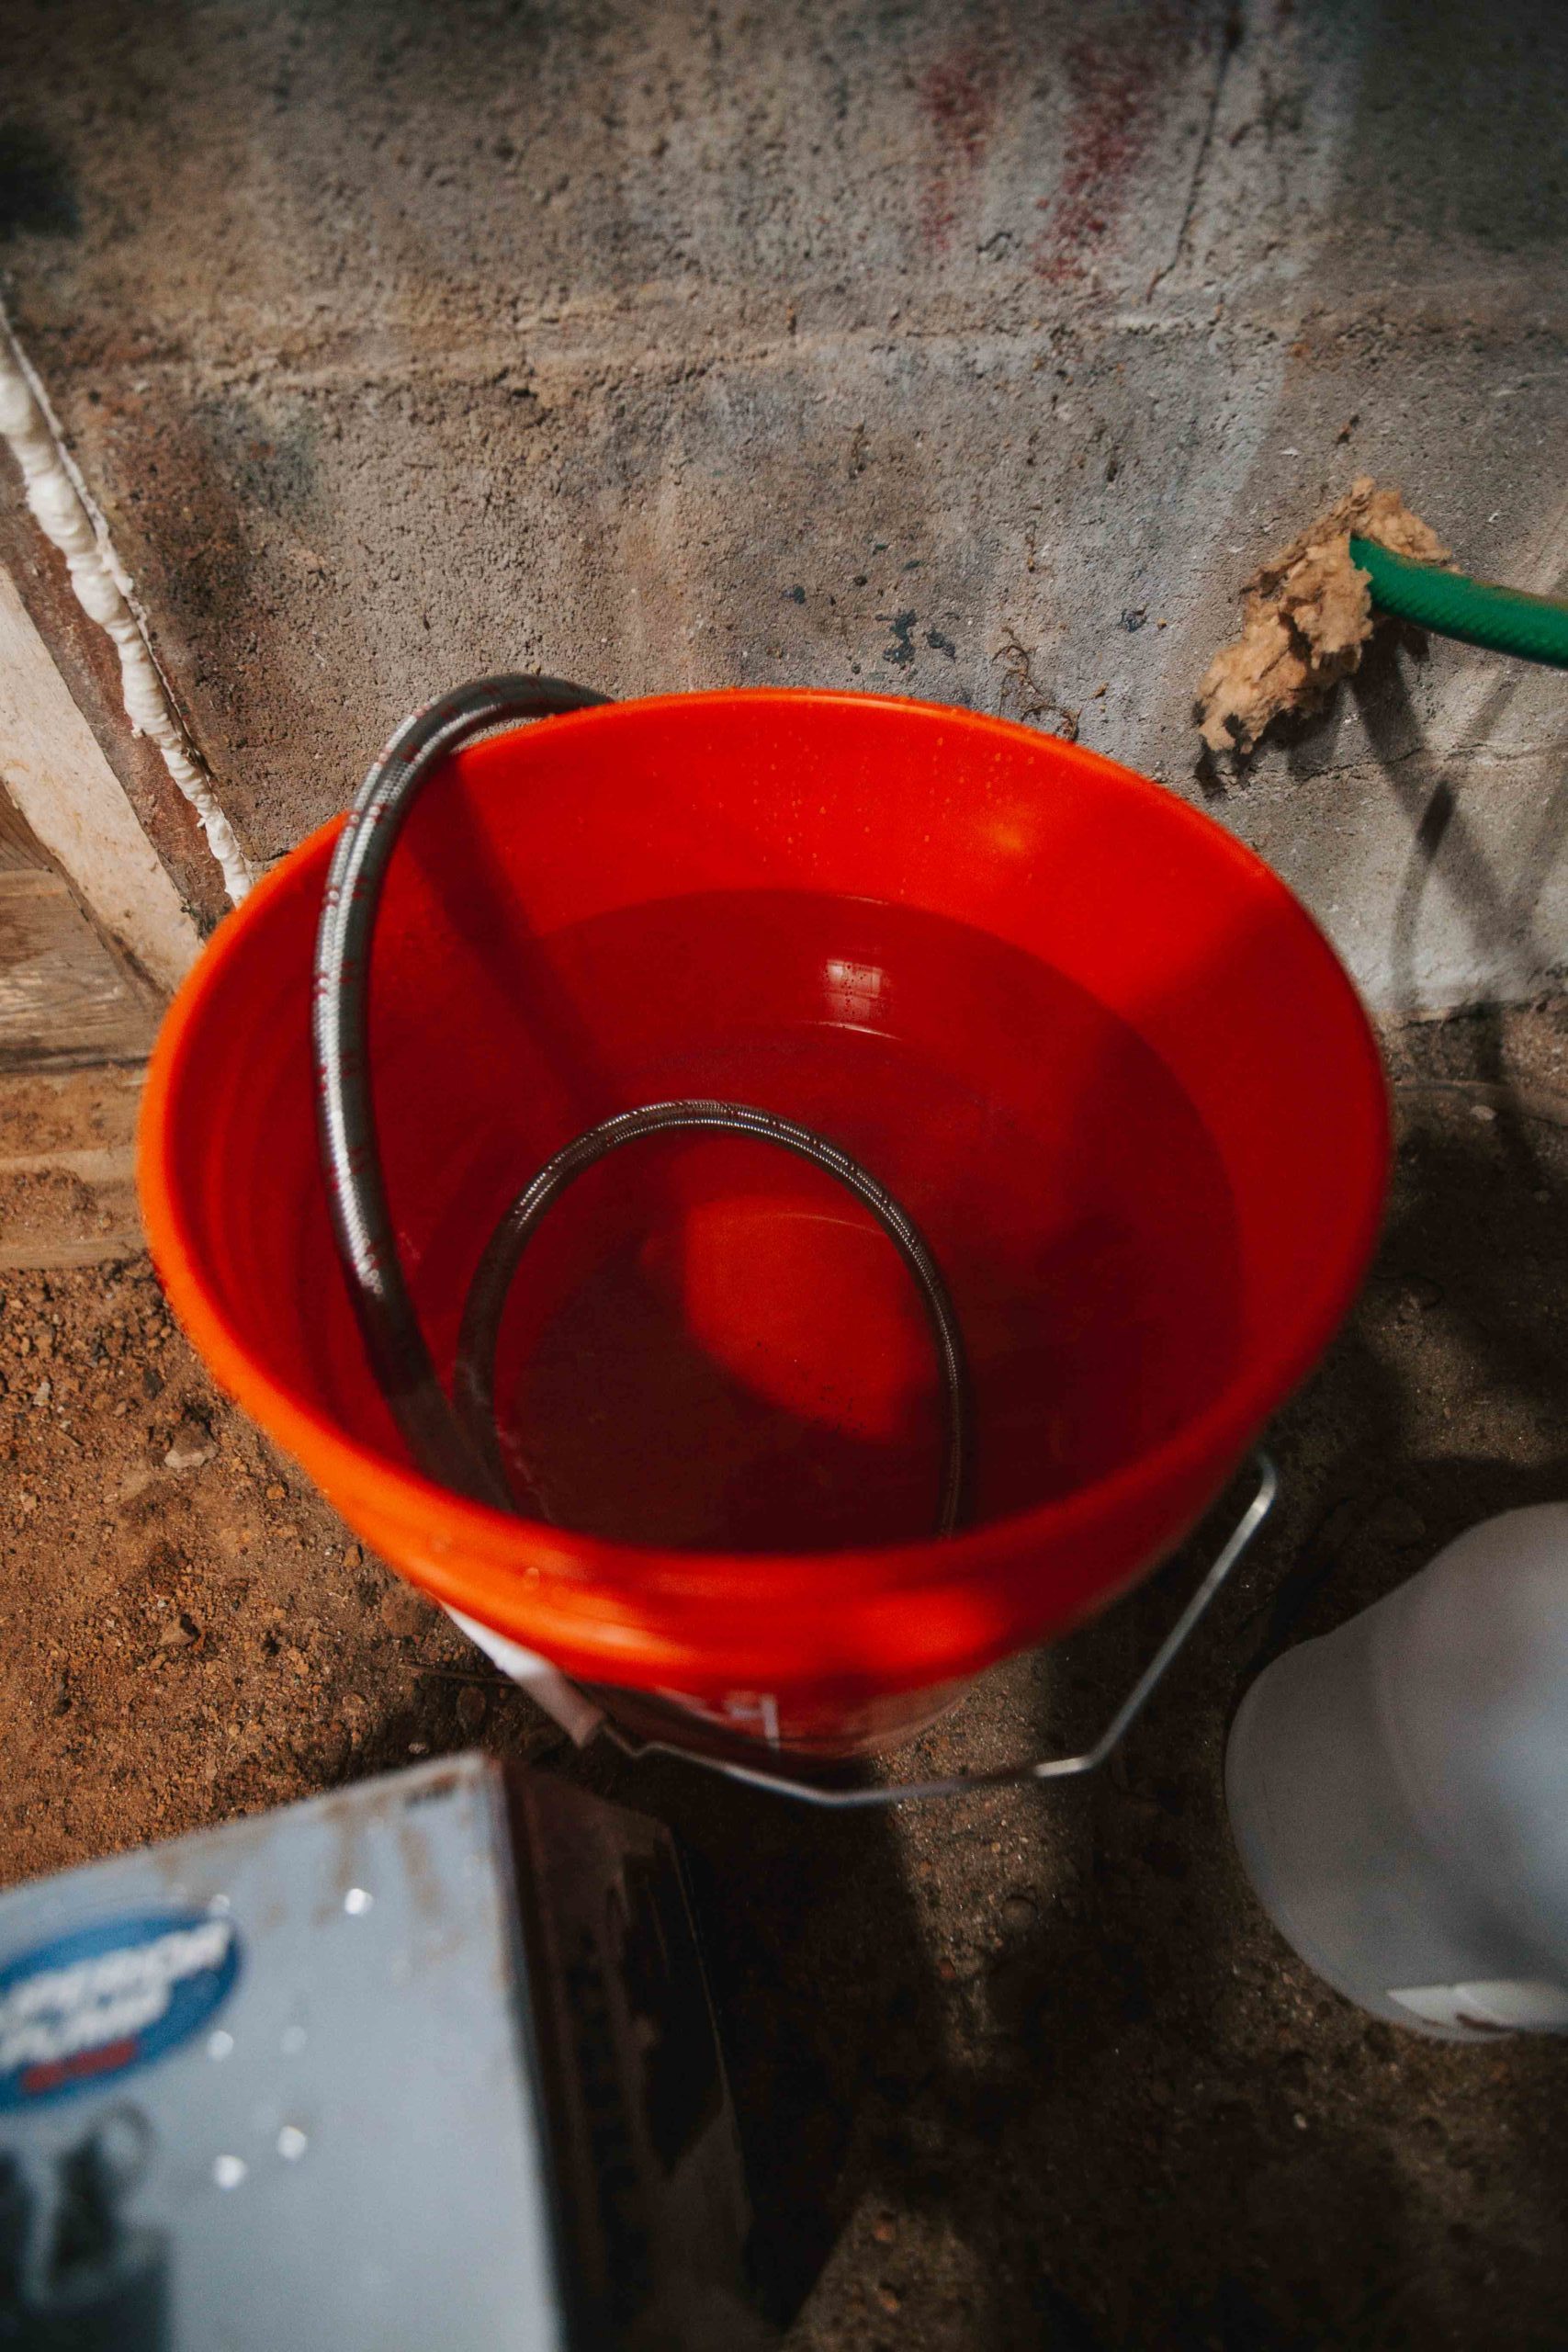
- Clean Bucket
Okay, so the first step is to shut off your gas. You should have a shut off valve right next to your system. If not, do the next closest one. This is to prevent anything from happening. (worst case scenario)
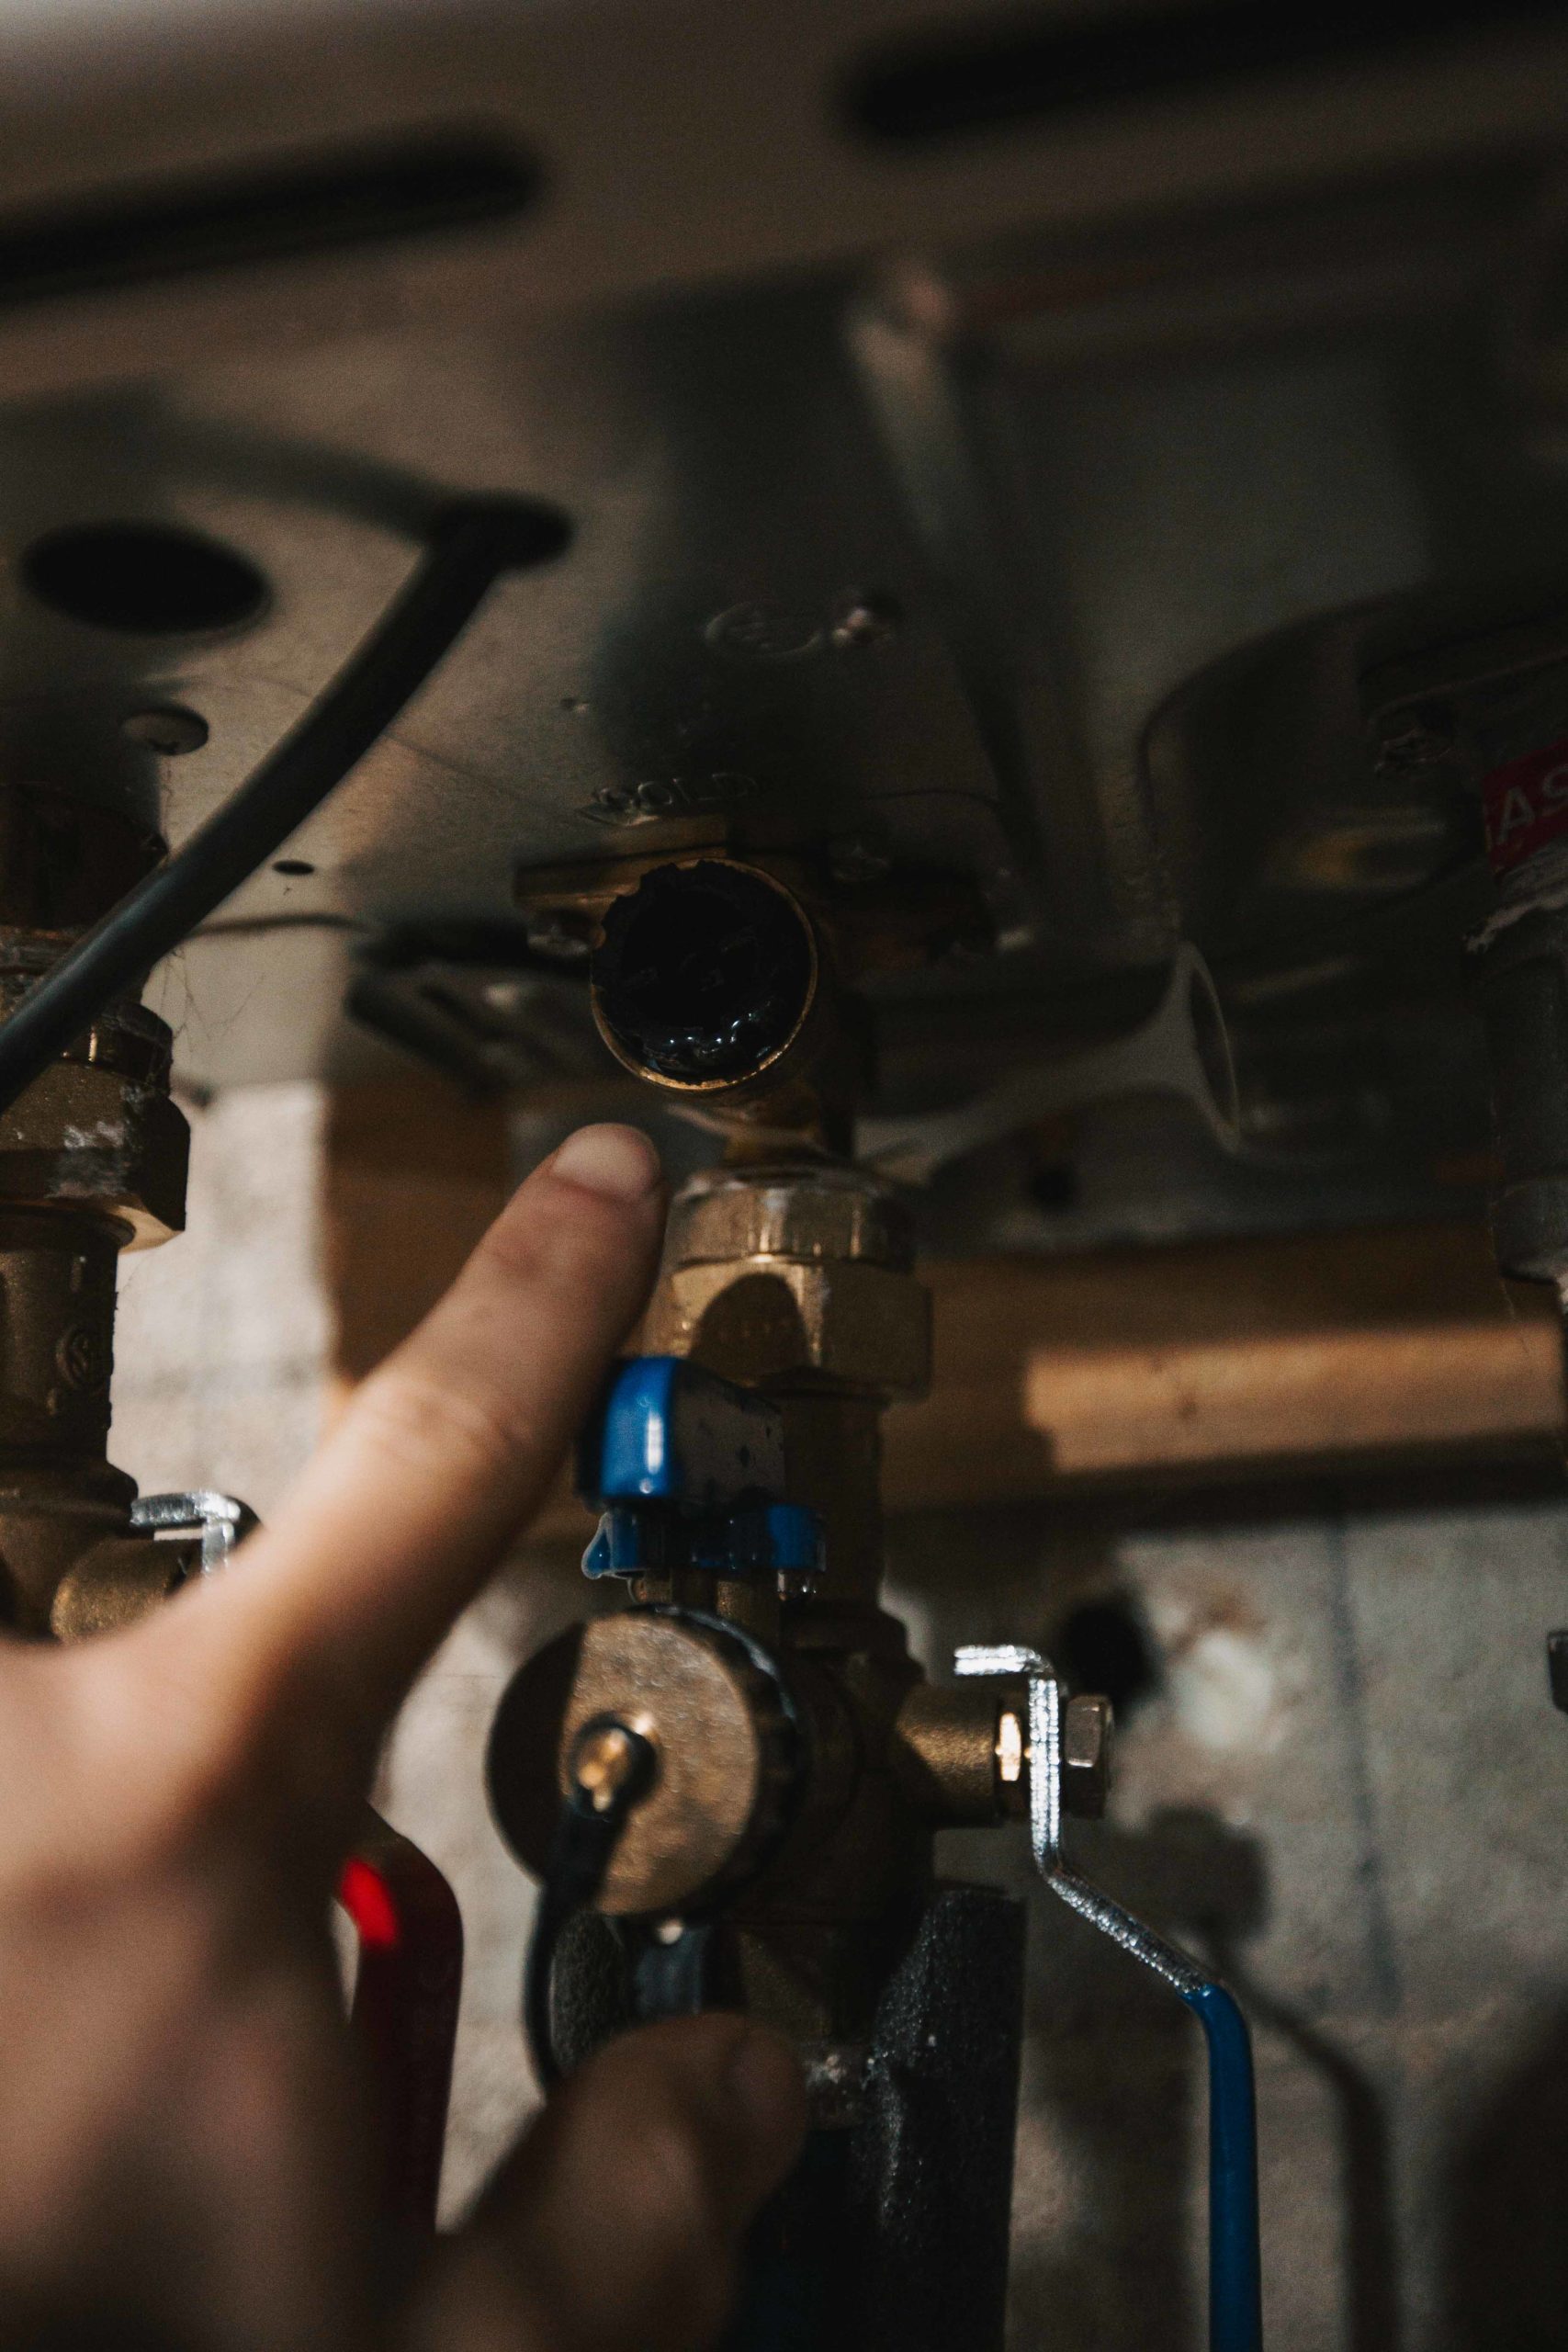
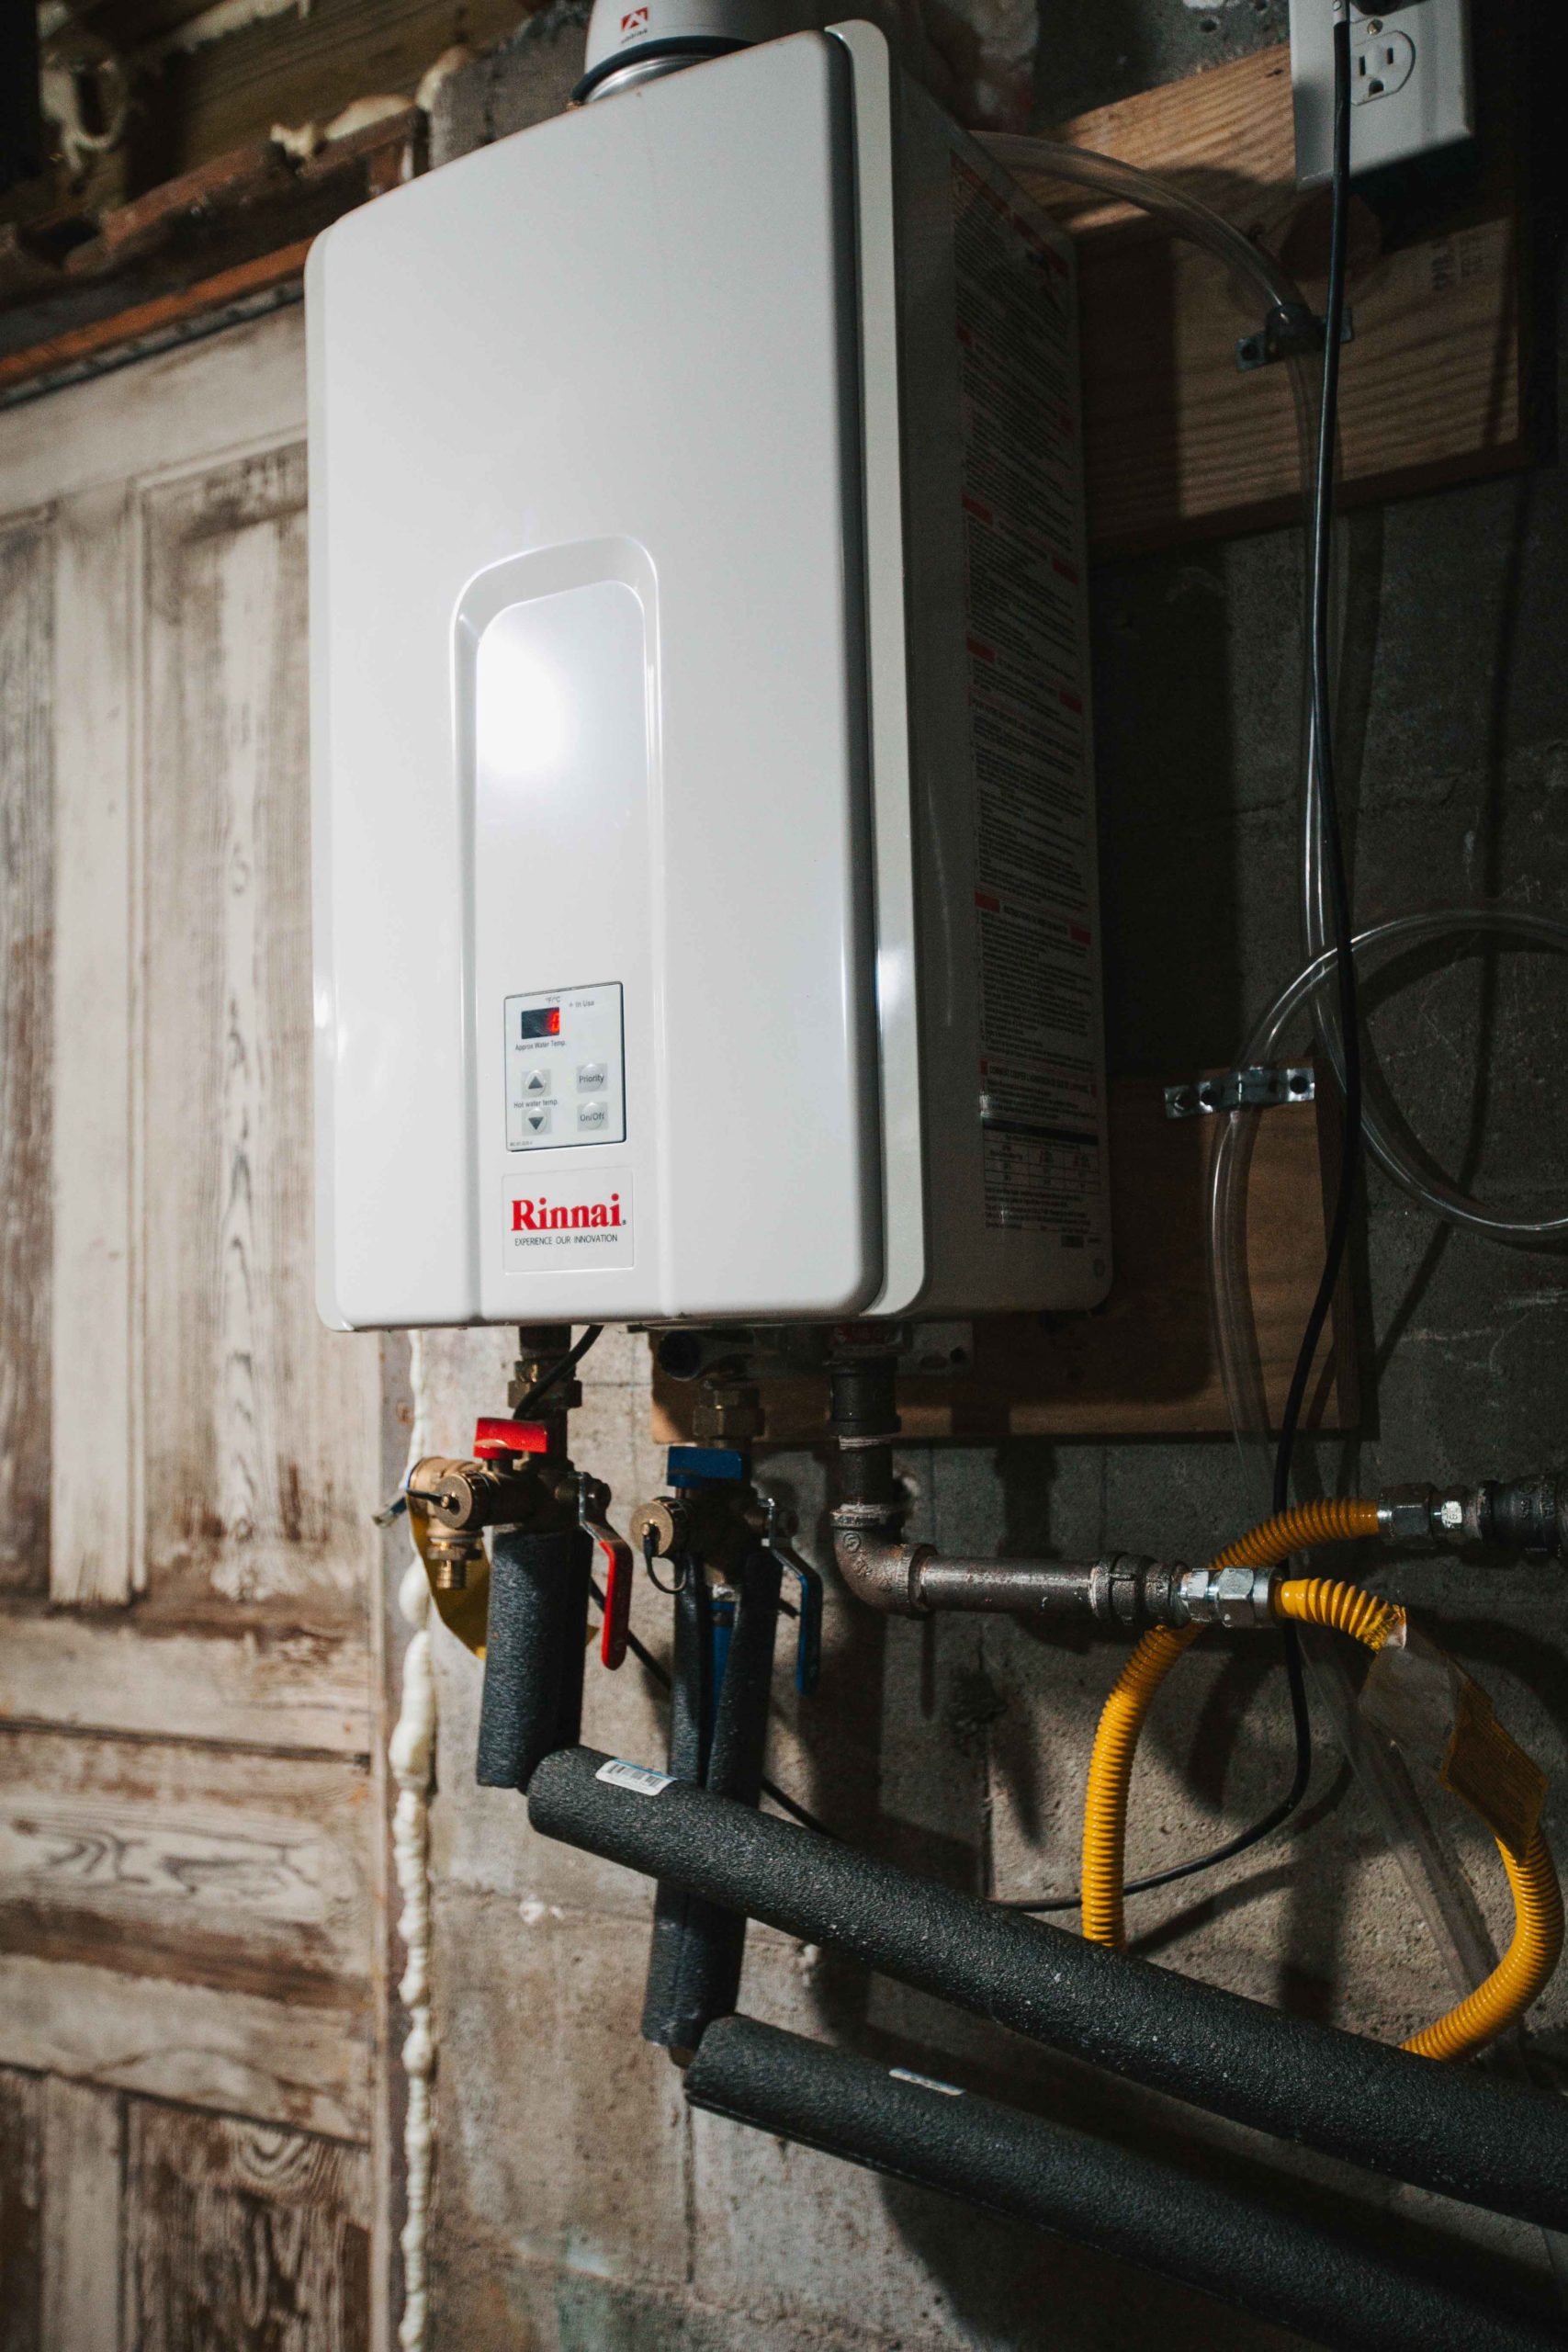
Next is to turn off your system. There should be a button on the front or side. You’ll then want the water coming in to be shut off by the system. You should have special valves like in this image bellow. Shut off the cold coming in and the hot going out.
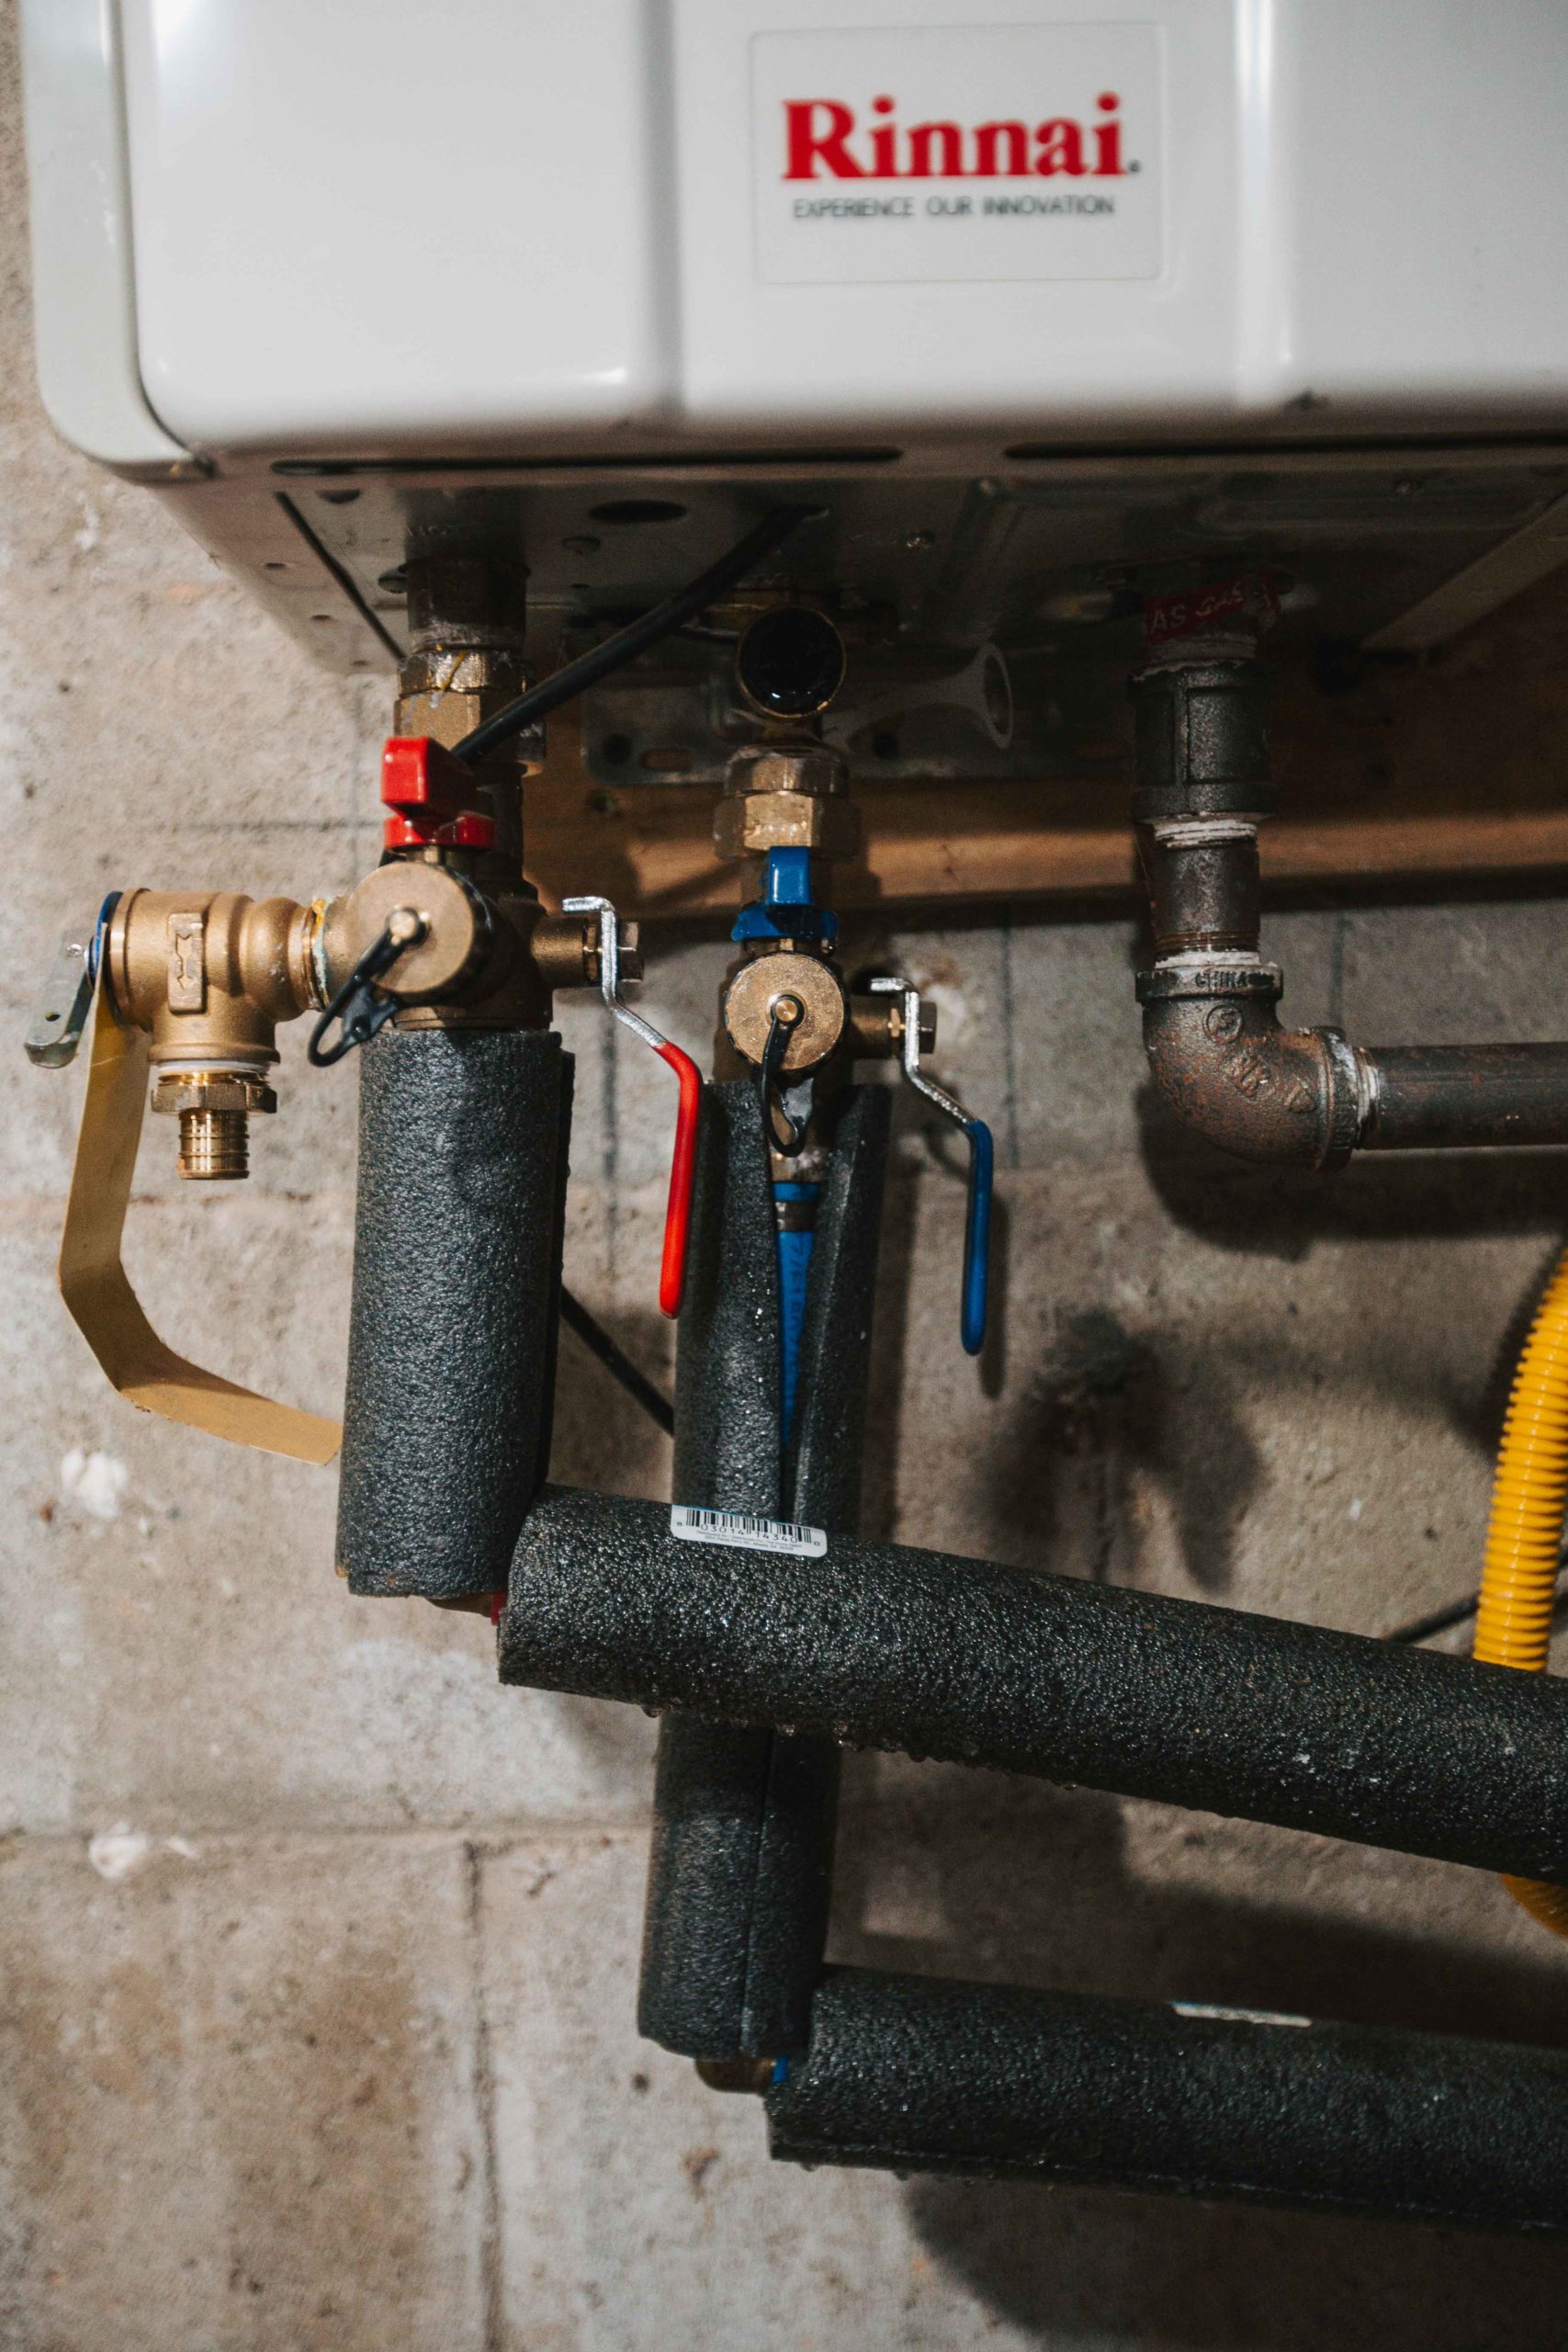
Now that you have your gas off, cold water into the system off, hot water going out off, and the system itself is off you’re ready to move on.
Unscrew the front caps. (in the image above, right in front of the valve shut off) That is where your two hoses will attach to. When you unscrew those caps, a little bit of water will come out when you turn the top valve for it. (Right above those caps). Then you’ll also want to unscrew the little water filter that catches any small things that go into your system. The picture below shows how that looks like.
Clean that filter out and instal it back like it was.
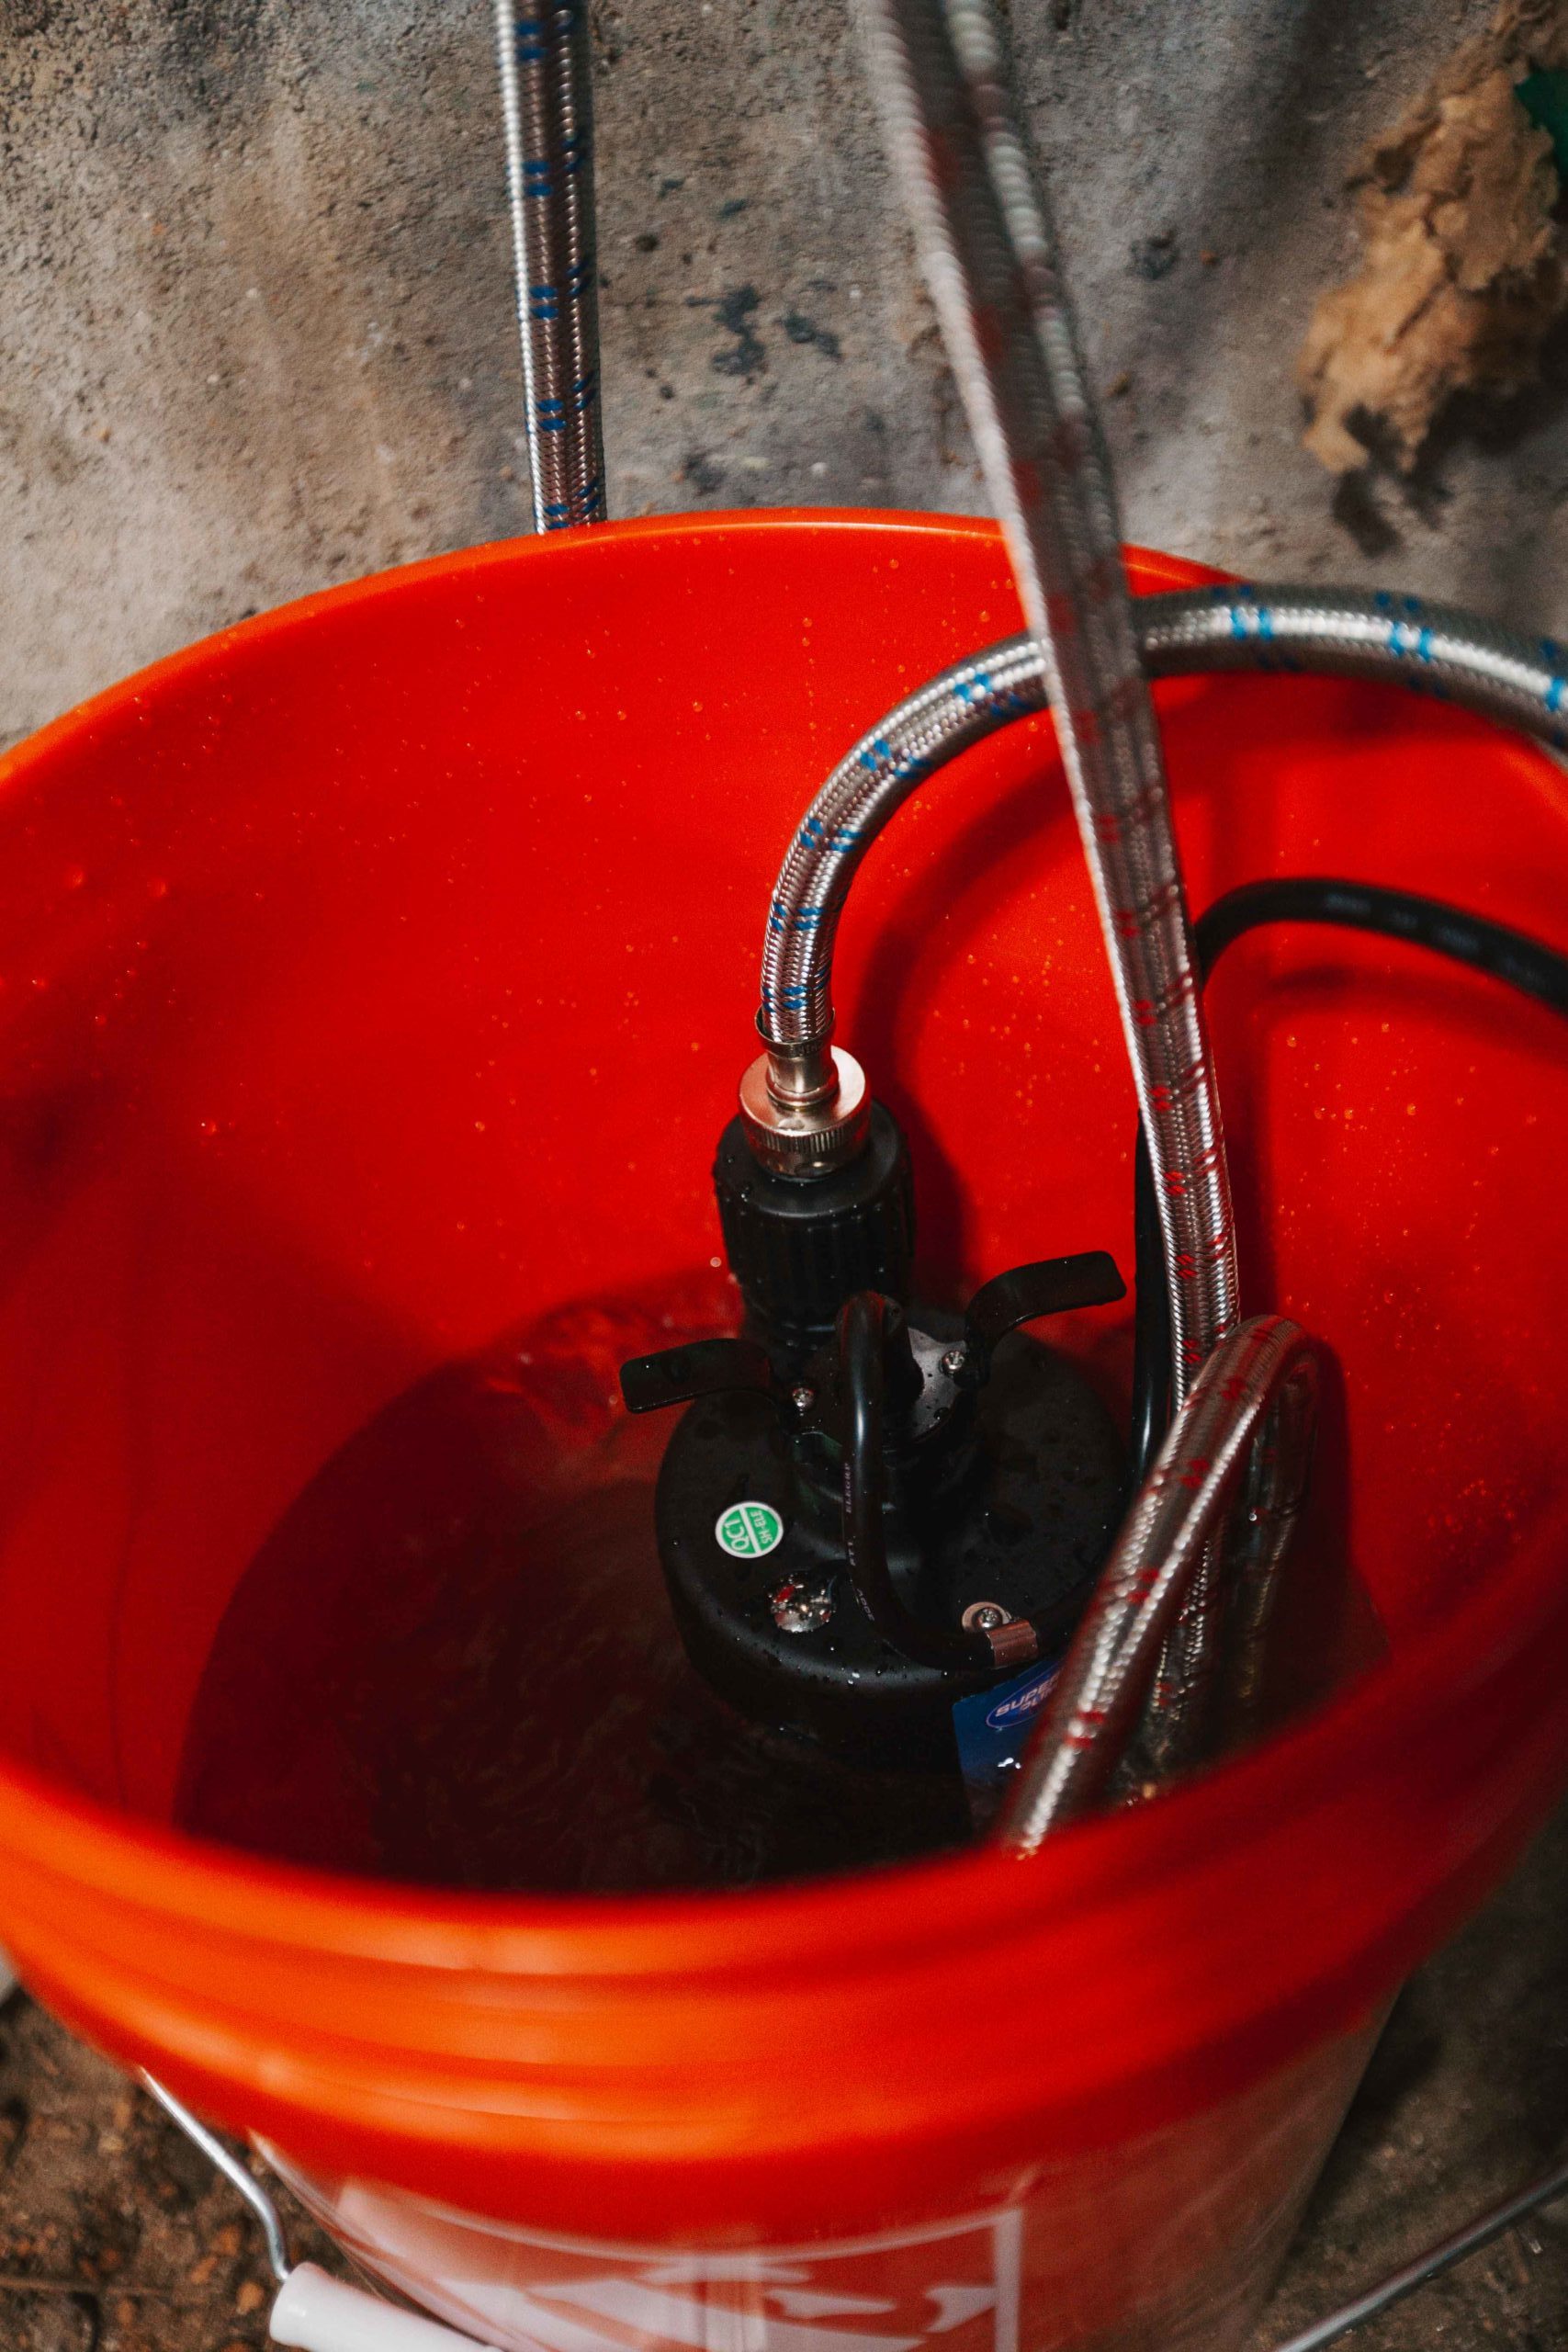
Now you’ll attach the host to the front where we unscrewed the caps. For the Cold side and hot side. The other end of the cold side will screw onto the top of the water pump. Definitely buy the right pump so that hose can be installed onto that. The hot water hose will just go down into the bucket.
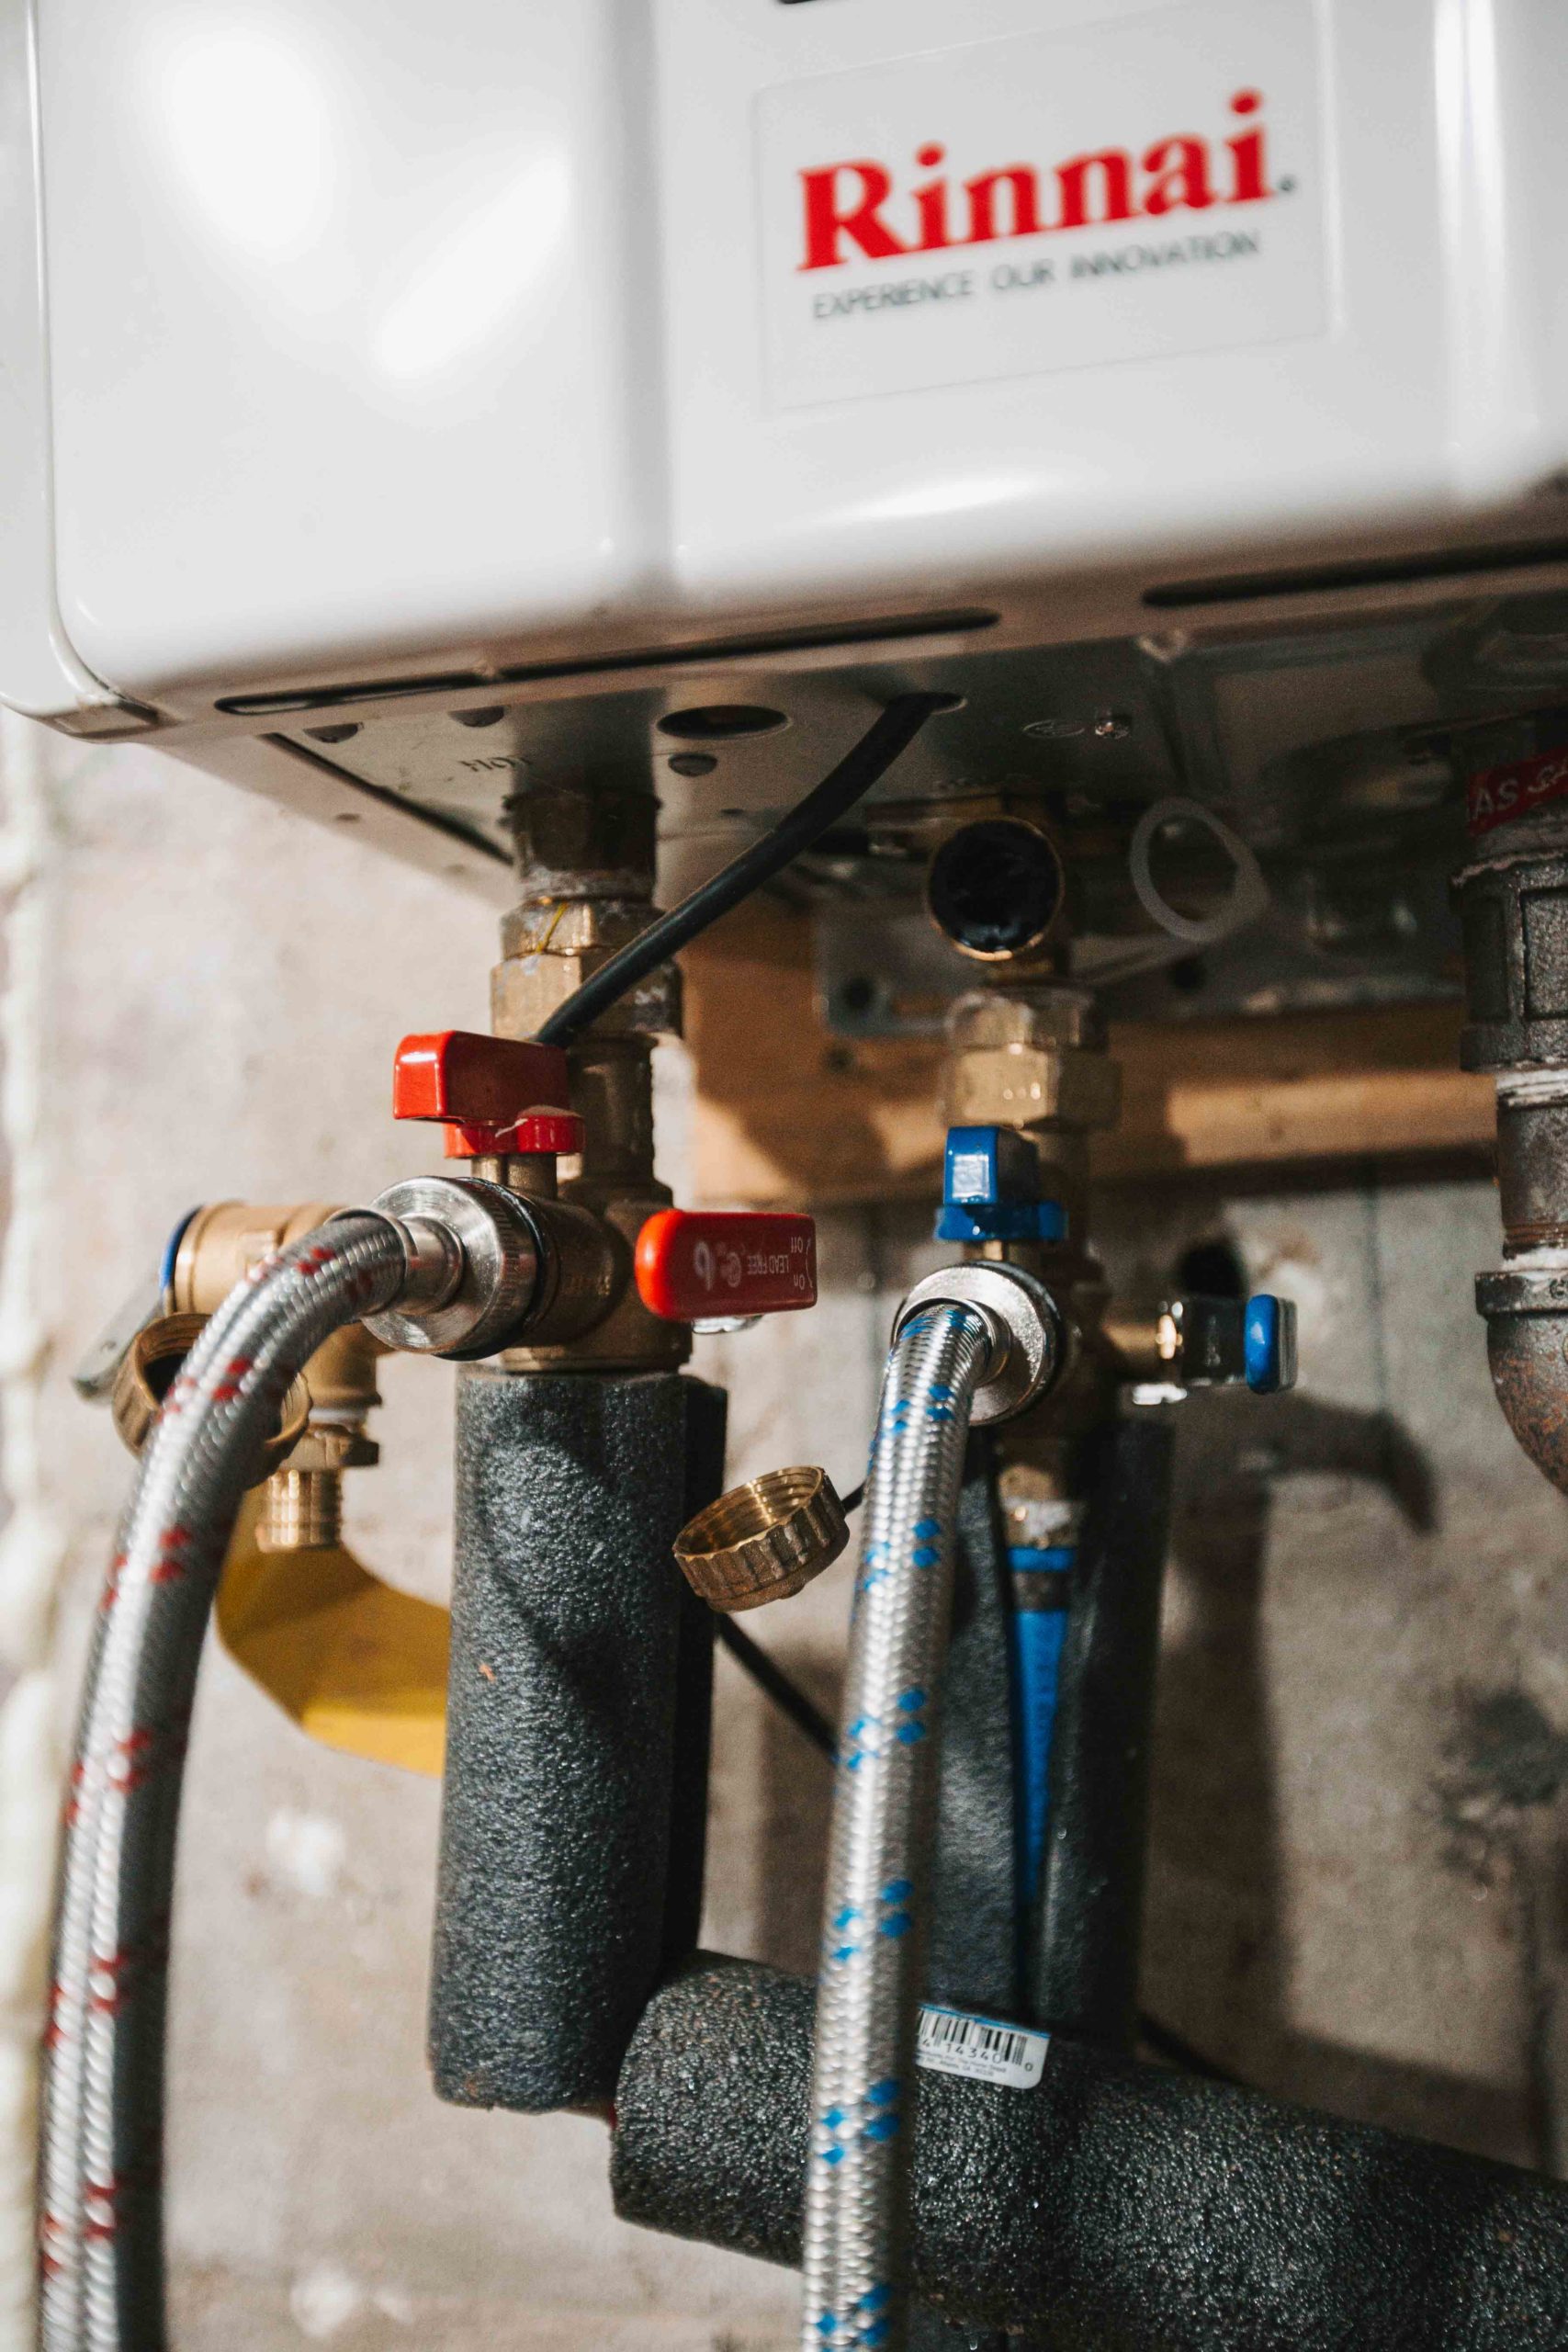
It should look something like this (the photo above). Again, blue (cold) is connected to the pump and the Red (hot) is down in the bucket. Now it’s time to pour the vinegar into the bucket.
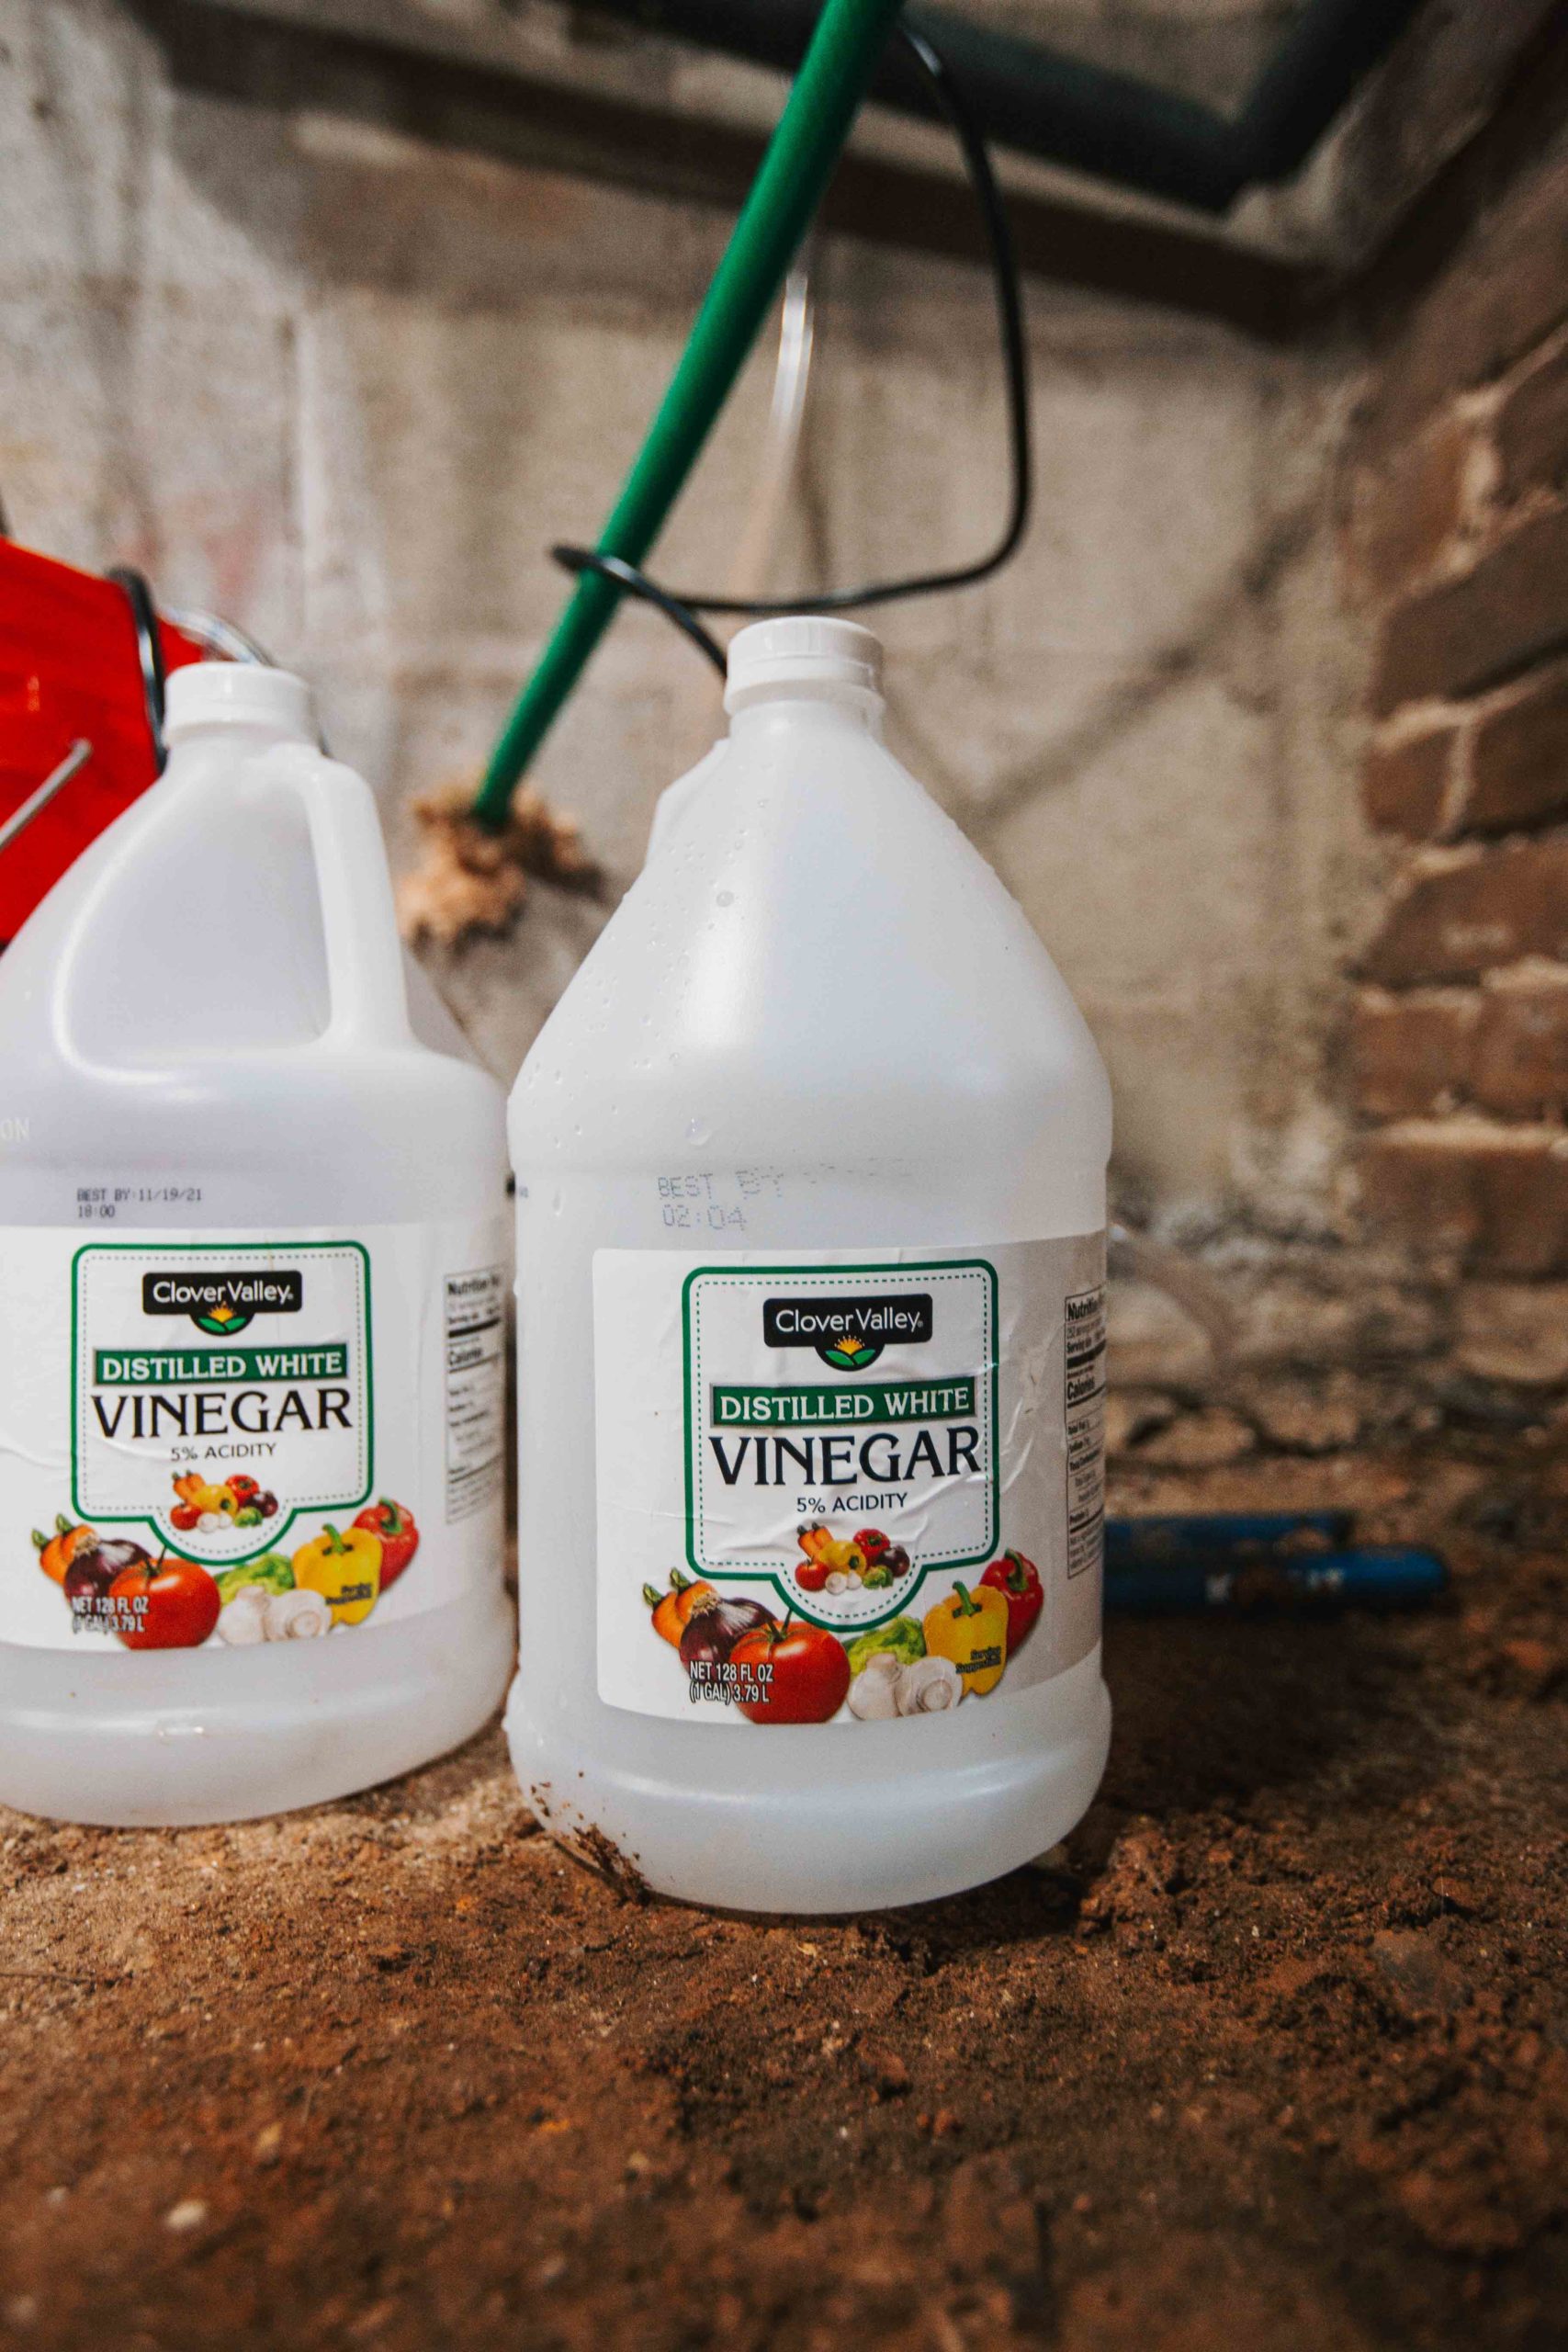
It’ll take about two gallons to make sure you’re successful, three if you think you’ll really need it. Now that you have the pump in the bucket sitting in the vinegar, the hoses are connected correctly, you are ready to turn on the pump. Just plug it up and it should start cycling.
The descaling process will take about an hour. So go hang out, get a cup of coffee, grab a coke and wait.
After the hour is up you are ready to shut it off. Unplug the pump. Remove only the cold water hose from the system. Keep the red one installed or the hot water side. Screw the cap back on and shut the top valve for the cold off. Dump the vinegar out, and then put the red hot water hose back in and turn on the main cold water running into your system. You’re ready to give it a clean rinse from the vinegar.
Now you’re ready to unscrew the hose from the tank, plug the cap back on. Turn off the top valve for the hot side too. You can even clean out that filter for the incoming cold water we talked about earlier again. Mine had a few little rocks and sand left even after the flush.
Set everything aside, you are ready to turn on your tank again.
Turn the gas valve back to on, turn the hot water out into the home on and make sure the cold is also back to flowing into the tank. Now you can turn on your tank have have it function like before.
I hope this was helpful! Your system should now run more efficiency and should last you for over 20 years if you do this process every year or so. Just might depend a little on where you live and what kind of water you have.
Also, here is a video to see a more detailed version of how this is done.